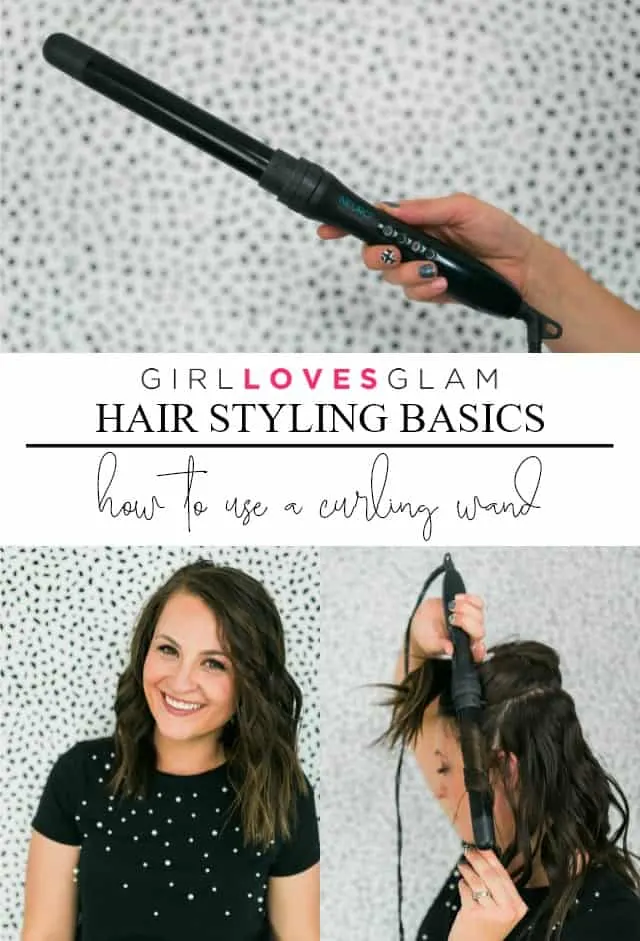
Curling wands have become a household hair styling staple over the past few years. I have had mine for about 7 years now and I don’t know what I would do without it! One question that I am asked often is how to use a curling wand. I totally understand how a curling wand would seem pretty intimidating but they don’t need to be at all!

One of the best things about a curling wand is the ability to create different curls with it that can create entirely different styles! I will be sharing how to create different curls in a later post because I wanted to teach you first just the basics of using a curling wand. I am sharing just how to make a basic barrel curl.
Curling Wand Styling
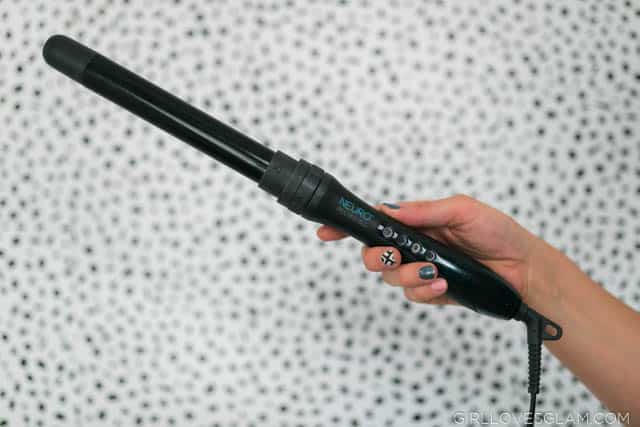
First, you will need to decide what temperature to use for your hair. I would say that most people would be save with using 350 degrees. Unless your hair is very coarse, you wouldn’t need it much higher than that. I tend to curl mine with a wand between 375-425 degrees because my hair is pretty coarse. I have been trying to curl it on the lower end of that range though, just so I am not putting quite so much heat on my hair. I swear by my Paul Mitchell Unclipped curling wand. I have owned it for 7 years and it has no signs of stopping. It is such a high quality wand! You can take the wand off and put different types of wands on it. It is also really important to know that this wand can have custom heat settings. This is SO important! Don’t ever buy a curling wand that you have no control over the heat settings.
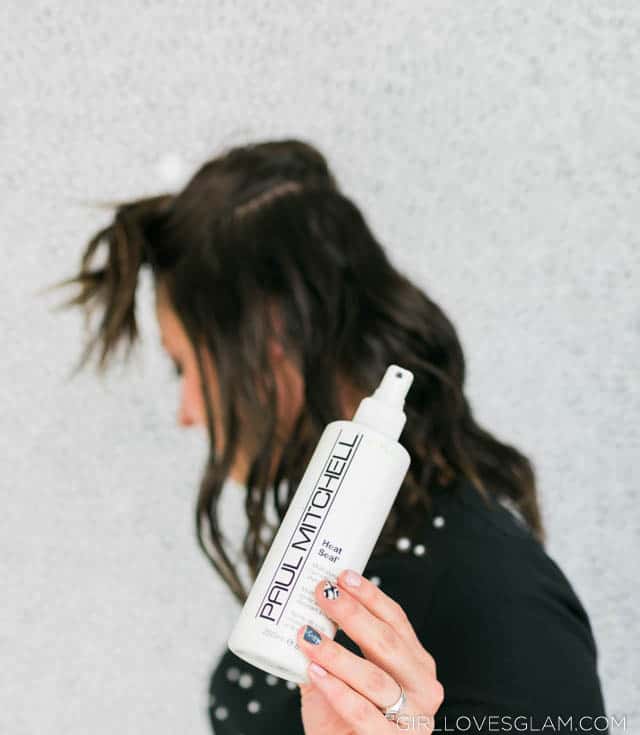
Before the heat comes anywhere hear your hair, you need heat protectant. It is SO important that you protect your hair from the heat. There are loads of great heat protecting products to choose from. My top two favorites are the Paul Mitchell Heat Seal and the S Factor Flat Iron Shine Spray.
Once your curling wand is all heated up, you will take your hair in small sections to curl. Start at the bottom and work your way up. Don’t forget to spray heat protectant on each layer as you work your way up your hair.
Loose Wavy Curls with Curling Wand
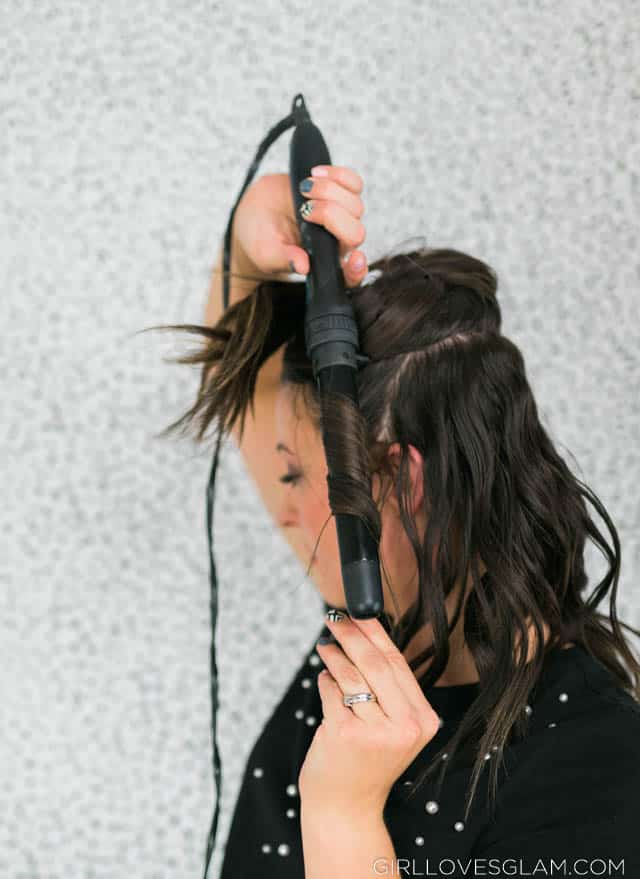
As you curl, curl away from your face. When you get to the very back of your hair, curl one direction and then in the next layer, curl the opposite direction. It lays really nicely that way. When you wrap the hair around the curling wand, leave the ends of the hair out. If you want your hair to be really curly, you can curl those pieces, but the trend isn’t really in to have the ends curled. It also makes it so you don’t really need to wear a glove when you curl your hair.
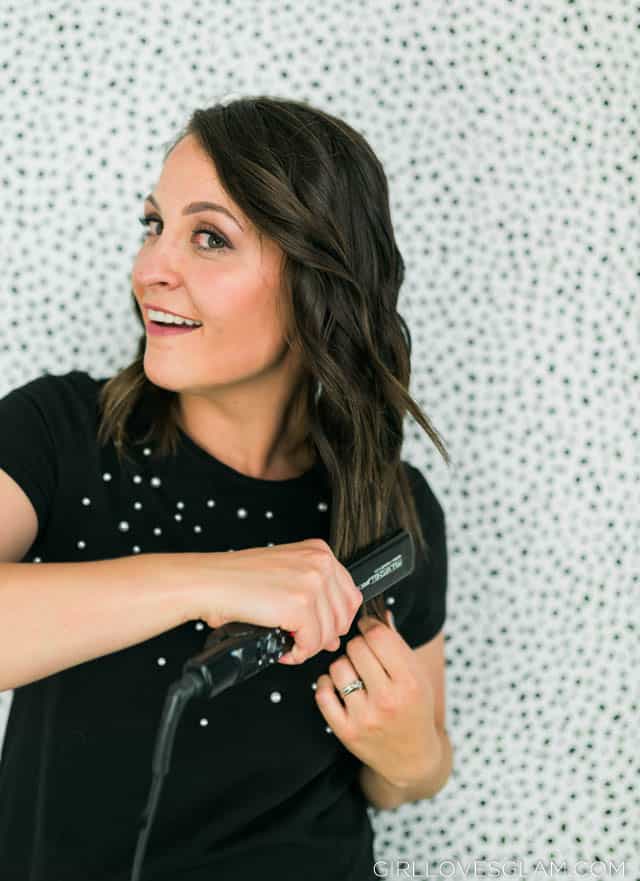
After you have curled your entire head of hair, you can run your flat iron through the ends of your hair so that you can fix any spots that might try to stick out a little. This is a totally optional step, but I really love how it looks when it is done.
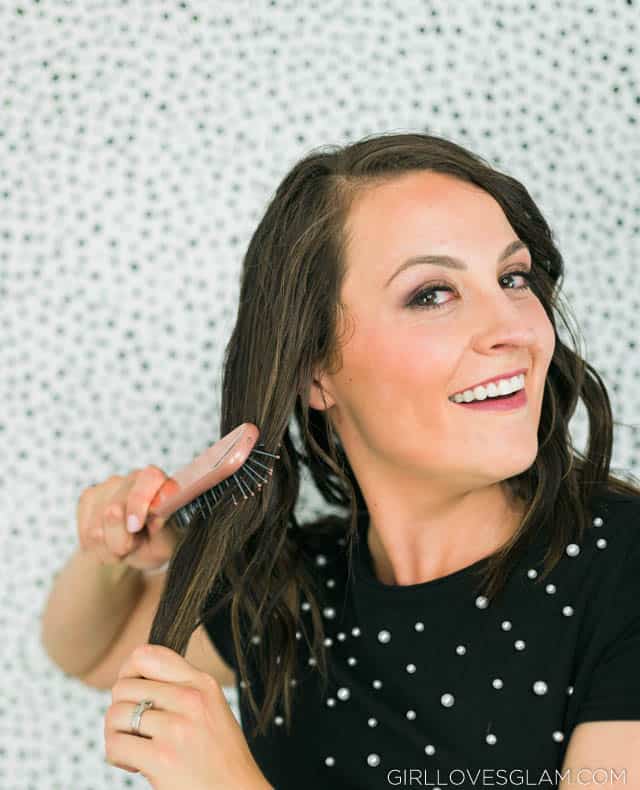
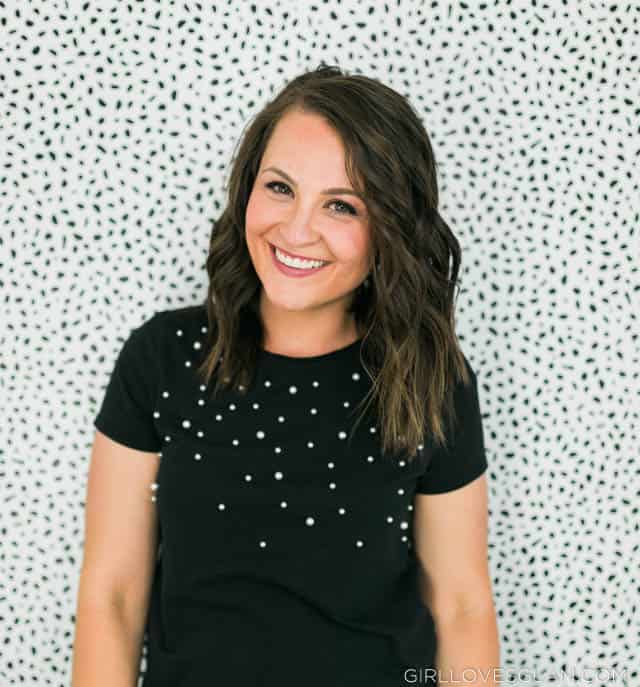
Brush through your curls to loosen them up. You can also add some texturizing spray and serum on the ends to polish off the look. I wear my hair like this most of the time. I love that my curls made with my curling wand will last for a long time too! I go about 15 days between washes and I usually don’t have to touch up my curls at all between!
For more hair basics, don’t forget to check out these other posts!