
This post is sponsored by Expressions Vinyl. All thoughts and opinions are my own.
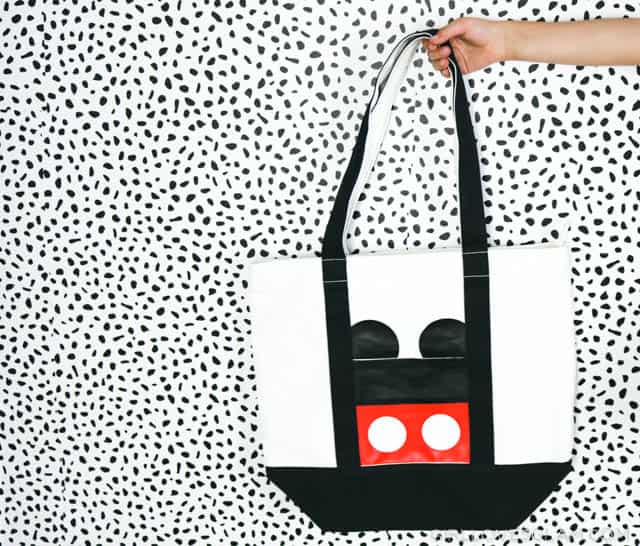
We’re headed to Disneyland next month and we’re getting everything prepped and ready to go! One thing that I knew I wanted to take was a fun Disney tote bag that we could keep all of our Disneyland essentials in. I wanted something Disney themed, without feeling too cheesy. That’s why I loved this simple Mickey Mouse inspired design I came up with!
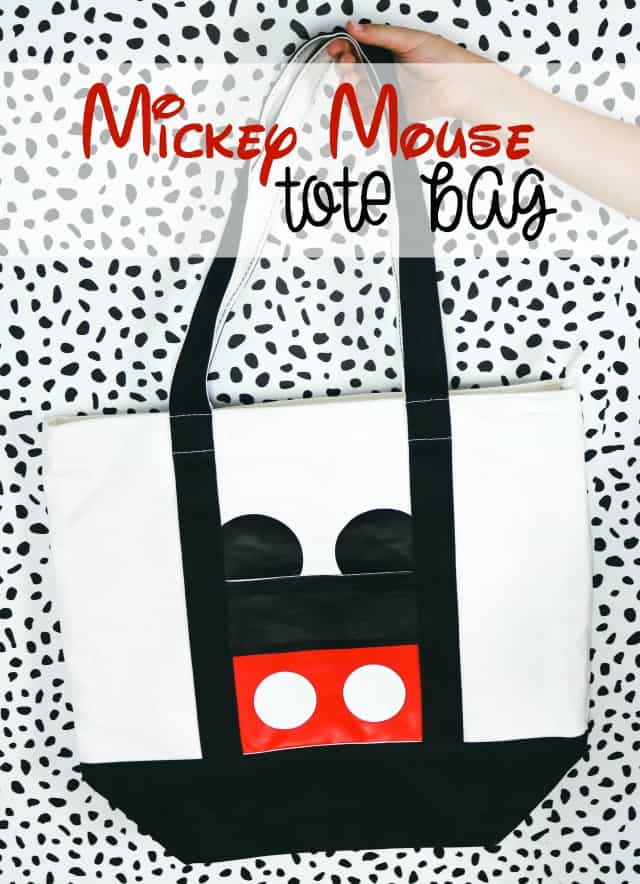
This tote only takes a few minutes to make and it is so easy to do! Here is what you will need to make your own…
(this post contains affiliate links)
Mickey Mouse Tote Bag Supplies
- Black Heat Transfer Vinyl
- White Heat Transfer Vinyl
- Red Head Transfer Vinyl
- Multi Use Paper
- Canvas Tote Bag
- Iron
- Silhouette Cameo -optional (sort of) Because this project is so simple, you could also just trace the size of circles you need and cut them out on your own, if you don’t own a Silhouette Cameo.
- Paper cutter or scissors
How to make a Mickey Tote Bag
Start by measuring the width of the pocket of the tote bag. Using a paper cutter, cut a black rectangle and a red rectangle to cover the size of the pocket. I made it so that the red would overlap the black a little, so that there wouldn’t be any chance of white poking through the layers.

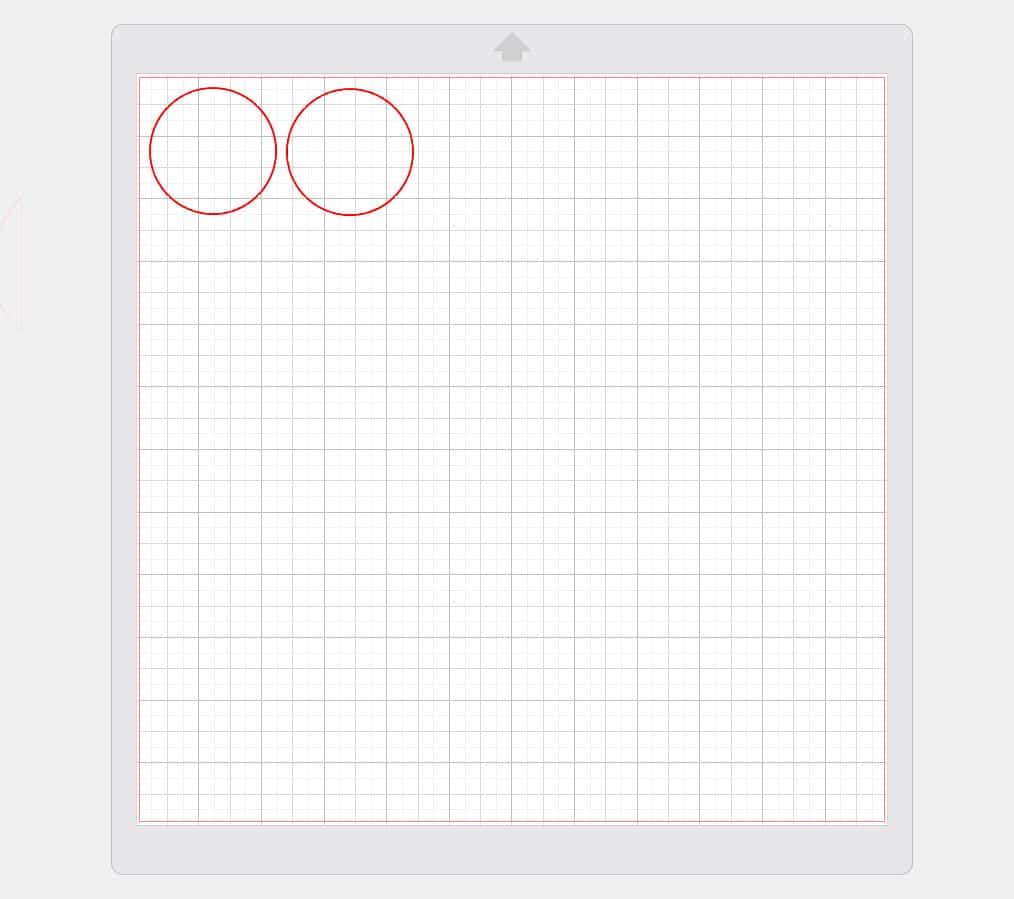
Next, open up Silhouette Studio software. You want to create circles for the ears and smaller circles for the buttons.
Creating Circles in Silhouette Studio
To make perfect circles in the Silhouette Studio software, you are going to select the drawing tools. They are along the left side of the screen. Click on the ellipse shape.
Before you click on the screen to draw the ellipse, hold down the shift key. This will allow you to draw a perfect circle.
Draw the circle in the size that you need it to be. Make sure to let go of the mouse, before letting go of the shift key, or else you will lose the perfect circle.
Once you have drawn one circle, click on it and duplicate it.
Cut out the circles in the white heat transfer vinyl.
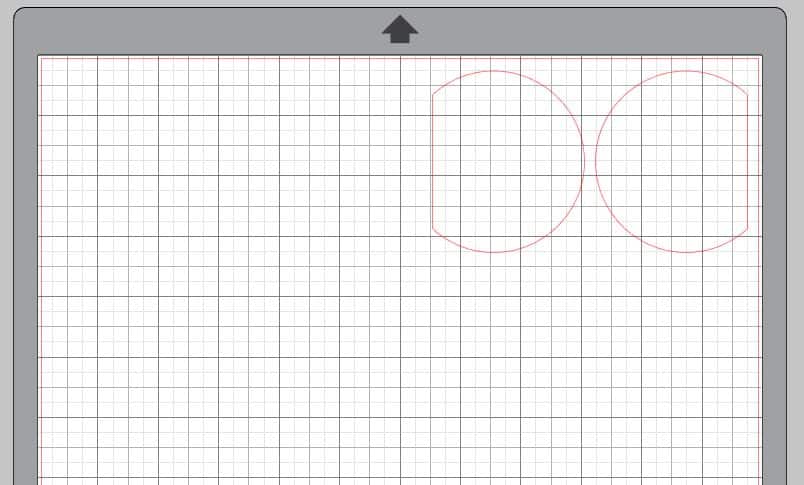
Create another circle, this time in the size that you want the Mickey ears. If you want the ears to line up right against the handles, you will want to use the knife tool to cut off the edge of the circle.
Make sure the solid option is selected on the top of the screen, so that it automatically creates a line where you cut the circle.
After you have cut the circle, duplicate it and mirror it to flip the opposite direction.
Cut out the ears in black heat transfer vinyl.
How to Iron Vinyl to Canvas Tote
After you have cut out all of your vinyl, you want to start ironing it onto your tote. You will start with the Mickey ears, by lining them up against the edge of the handles and tucking in the bottom into the pocket.
Put the iron on the cotton setting and press down firmly to iron.
Make sure that you are ironing inside the pocket, rather than on top of the pocket. Gently peel off the clear backing. If the vinyl starts to pull up, lay it back down and iron more.
Next, lay the black rectangle on the top part of the pocket. Use the multi use paper and lay it over the top, covering the Mickey Mouse ears. You don’t ever want the vinyl to touch the iron, without being covered by either the clear backing of the vinyl or the multi use paper.
After the black rectangle has been ironed on, place the red rectangle on the bottom part of the pocket and iron it on.
Finish by ironing the white circles on it!
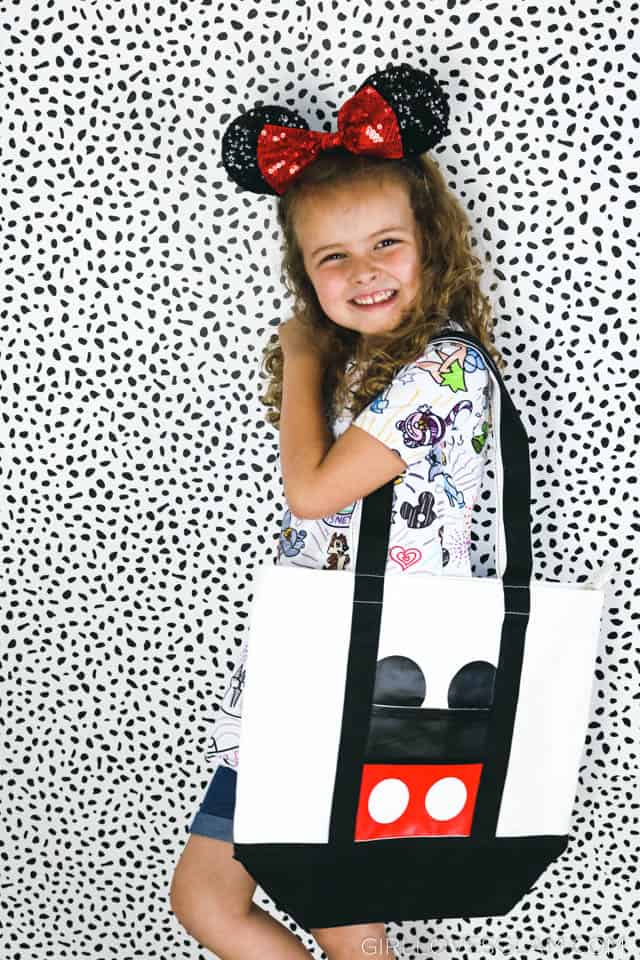
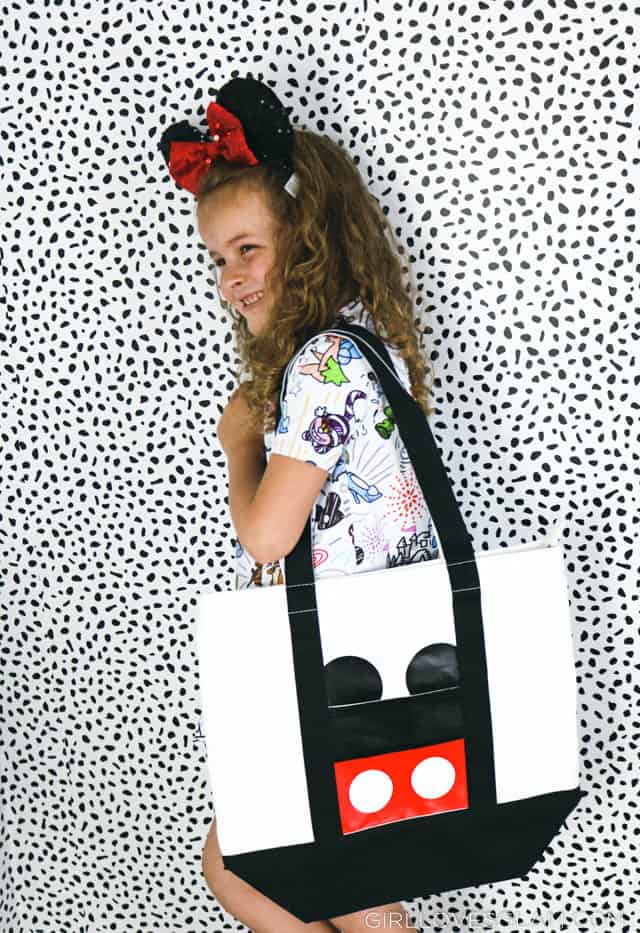
We are so excited to take this tote to Disneyland this year! We are going to have the characters sign it with fabric markers, so that it can be a fun souvenir that we can treasure forever!