
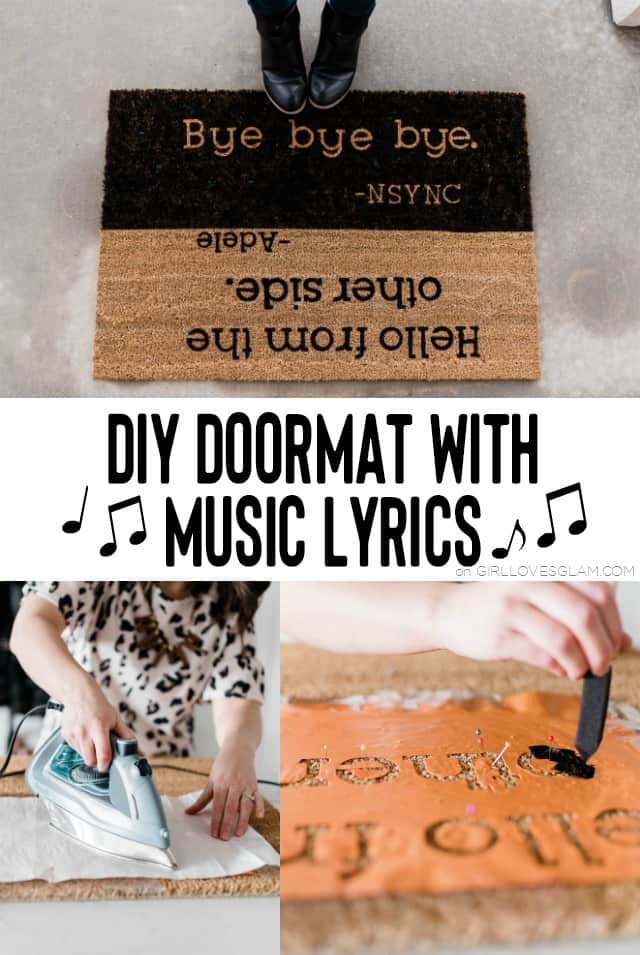
I really love having a cute doormat, but I have always wanted to have a more personalized doormat for my style. I absolutely love music! That’s why I am doing my album cover makeup looks every month this year. I LOVE music! I have also always loved the doormats that say hello on one side and goodbye on the other side. But why make the same doormat that I have seen over and over again, when I could teach you all how to make a doormat with music lyrics that will totally set you apart from the rest?! And let’s be honest, anytime I can bring NSYNC into my home decor, I’m going to jump on the opportunity.
Making personalized doormats might seem a little intimidating but they are so easy to make! To make your own doormat, you will need…
Personalized Doormat Supplies
Blank Doormat (I got mine at Ikea, but there are several options on Amazon as well)
Adhesive vinyl (you will be putting an iron on this for a second. This is NOT iron on vinyl though. Don’t buy iron on vinyl)
Iron
Push Pins
Craft Paint
Paint Brush
Krylon Sealer
Packing Tape
Silhouette Cameo
How to make a DIY Doormat
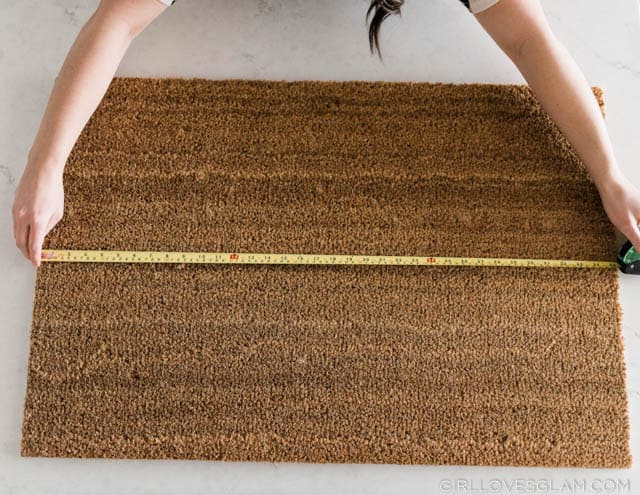
Start by measuring your doormat so you know how large you need to make your words.
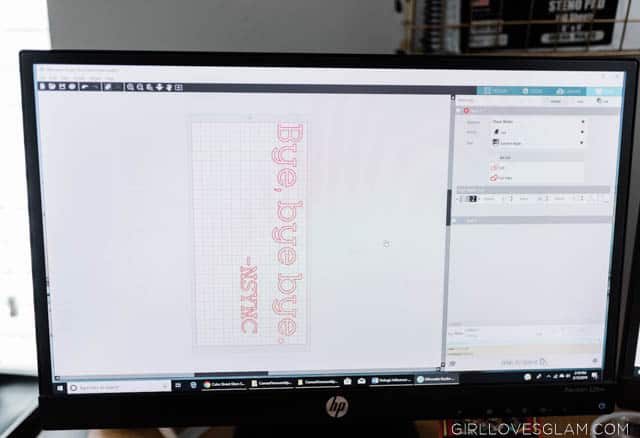
Create your text in Silhouette Studio and cut out your vinyl with the Silhouette Cameo.
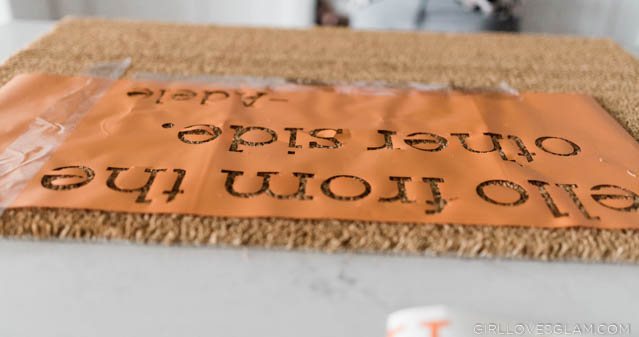
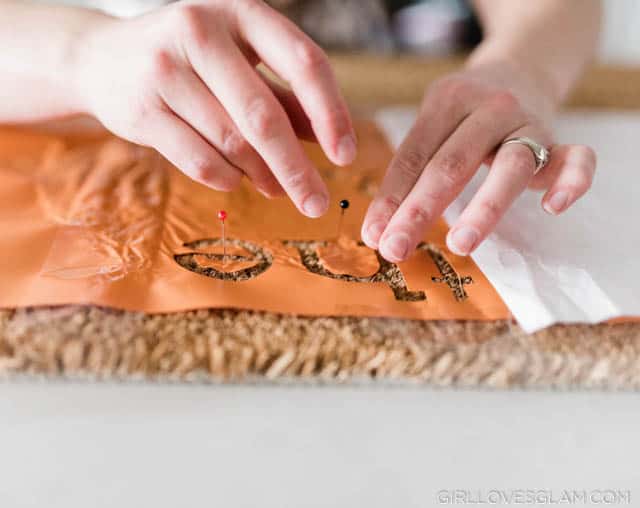
For the side with the words stenciled on, you will peel off the larger part of the vinyl and leave the words on the backing. Tape the vinyl down with packing tape. Don’t forget to stick the centers of the letters like E, O, and D.
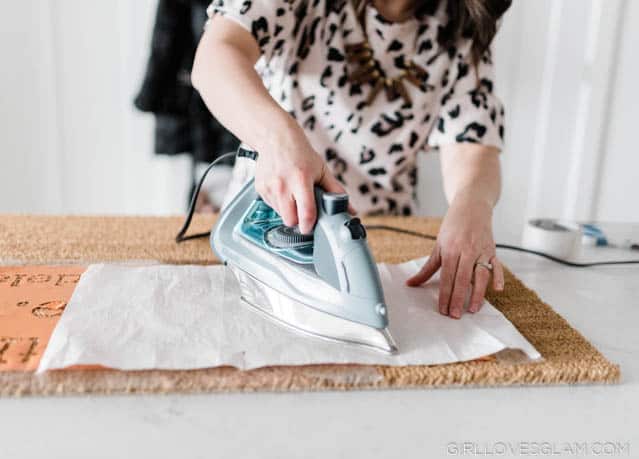
Lay the multi use paper on top of the vinyl to protect it and iron it on lightly. You don’t need to leave it on there long at all. This is just to help it stick on a little better so the paint doesn’t bleed as easily.
Stencil a Doormat
Use push pins to secure the middle pieces to letters and any other pieces that look like they could bleed easily when you are stenciling.
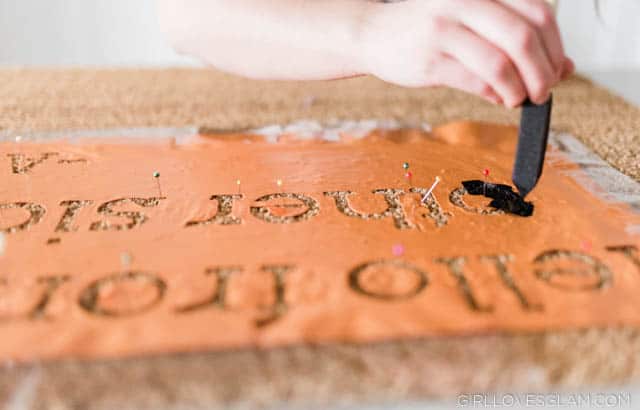
Stencil your letters carefully. Make sure that they get lots of paint on each letter. I ended up using a bristle paintbrush instead of the sponge paint brush pictured above. It seemed to work better with the texture of my doormat.
Peel off the vinyl and half of your door mat is done! For the other side, you could do the vinyl the same way. I wanted to have mine be the opposite with the outside being black. So I applied the vinyl the same way I would apply regular vinyl, with transfer tape. This is kind of a pain to take the letters off of because the doormat just isn’t very easy to stick vinyl to. Just be prepared to have to individually stick letters on for a lot of it. Then I put a piece of painters tape down the middle of the mat to create that straight line. Put push pins down on the letters to hold them down and paint the entire side of the door mat. Peel the letters off and you are done with both sides!
How to seal a doormat
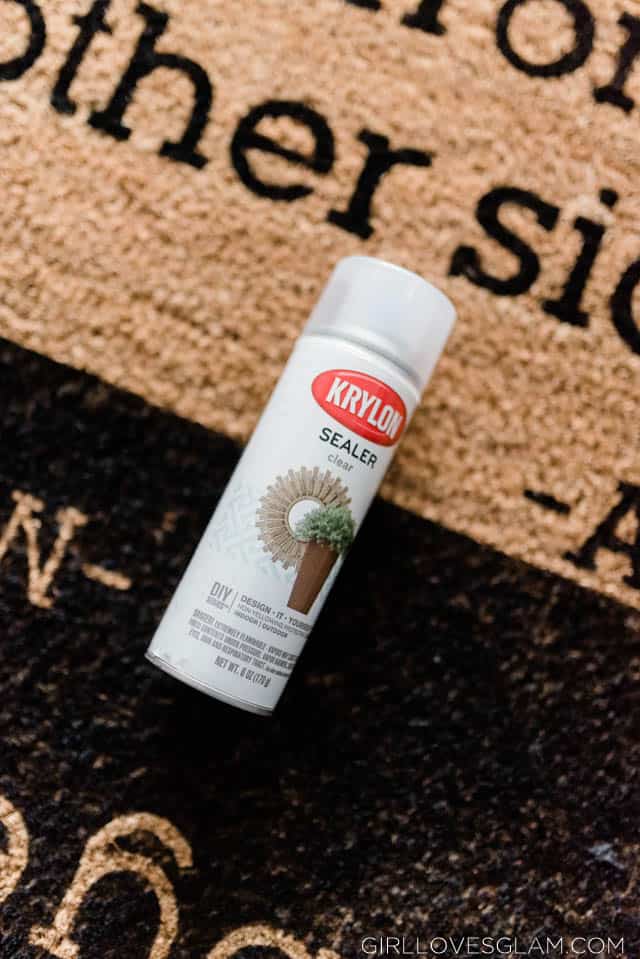
Use this Krylon Sealer to spray over the entire mat. This will protect all of your hard work! Make sure you get the kind that is for outdoor use.
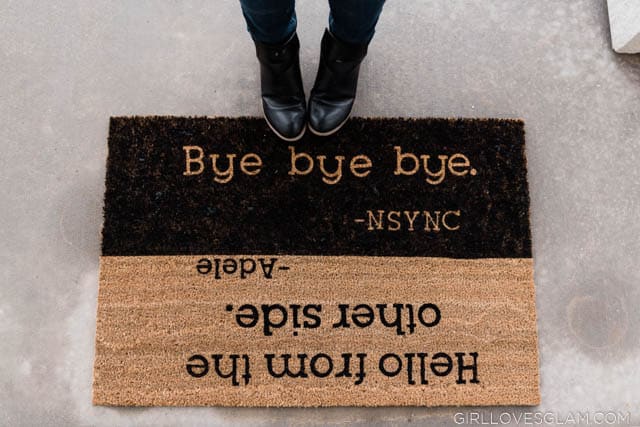
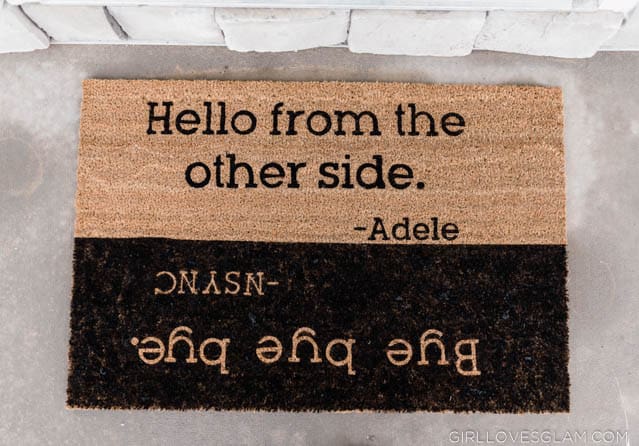
Once your sealer dries, your doormat is complete! You can tell all of your friends “Hello from the other side” and “Bye bye bye” as they leave, too!