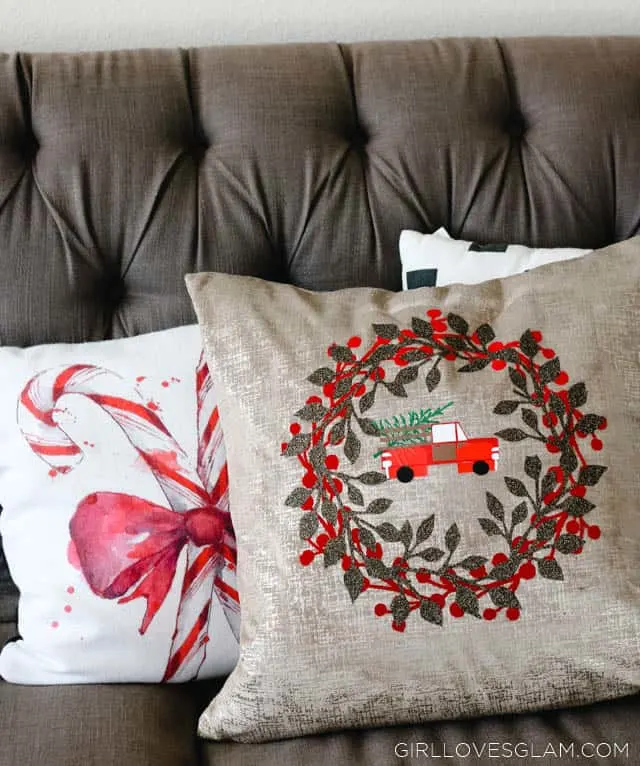
I have become increasingly obsessed with all of the products featuring vintage cars and trucks carrying Christmas trees. It is such a classic holiday symbol and I love all of the decor that I have seen inspired by them. Last year, I picked up a cute cookie jar shaped like a truck with a Christmas tree on top and I bought another little ceramic truck this year. I knew I wanted a new Christmas pillow this year and putting this classic truck was going to be the perfect addition to the pillow! Making this Christmas truck pillow was incredibly easy, so follow along and you can make your own too!
To make your own, you need…
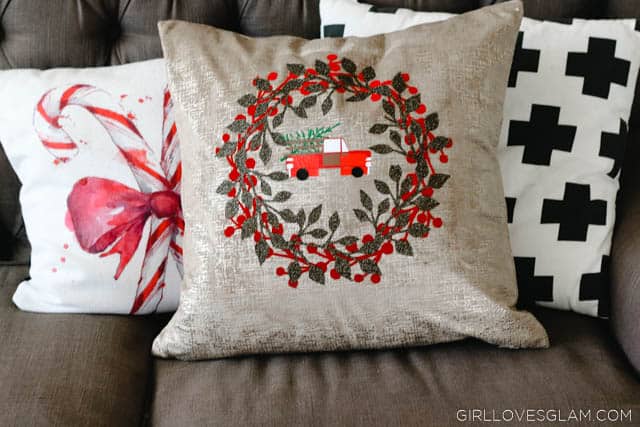
-Pillow or fabric to create your own pillowcase. I found this pillow on sale at Marshal’s and heaven knows I would rather buy an inexpensive pillow than sew anything!
-Heat transfer vinyl from Expressions Vinyl. I used several different kinds for this pillow because I wanted to create a lot of depth. You wouldn’t need to use as many colors and types, but it definitely adds more when you do!
- EasyWeed Heat Transfer in Red, White, Black, Chocolate, and Bright Red
- StripFlock Heat Transfer in Green and Red
- Glitter Heat Transfer in Black Gold
–Silhouette Cameo Machine. I have the Cameo 3, but any version would work. After playing around with the Cameo 3, on this project, I definitely recommend it! It is an awesome machine!
This is how I made this pillow…
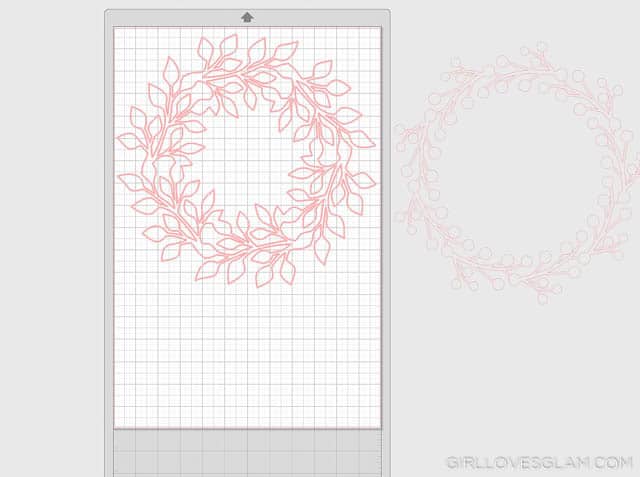
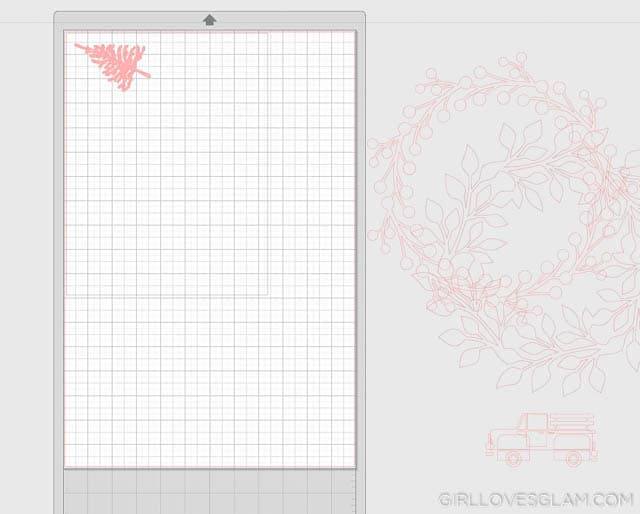
I found two different wreath shapes I really liked in the Silhouette Studio and cut them to be the same size. I cut the berries out of the red StripFlock vinyl and the leaves were cut with the glitter vinyl.
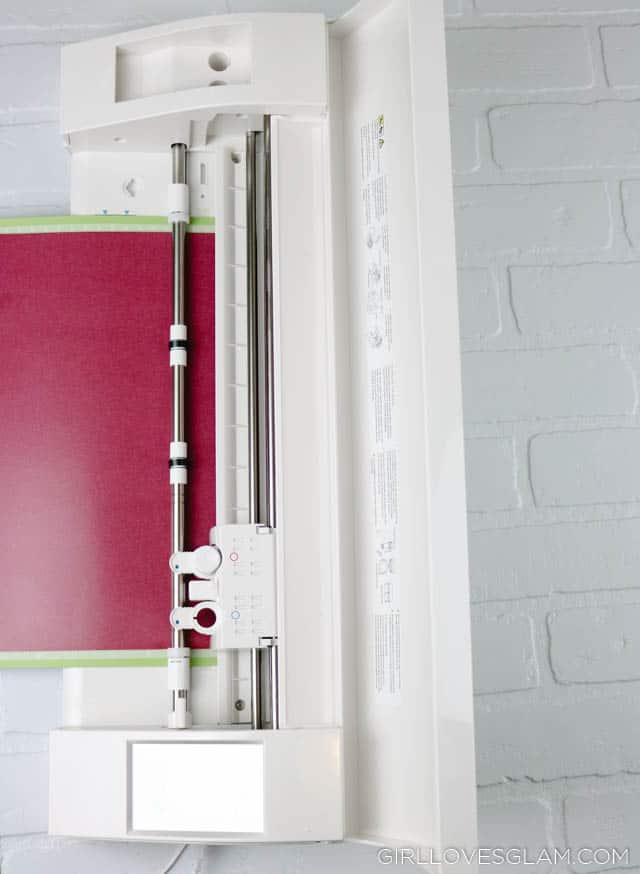
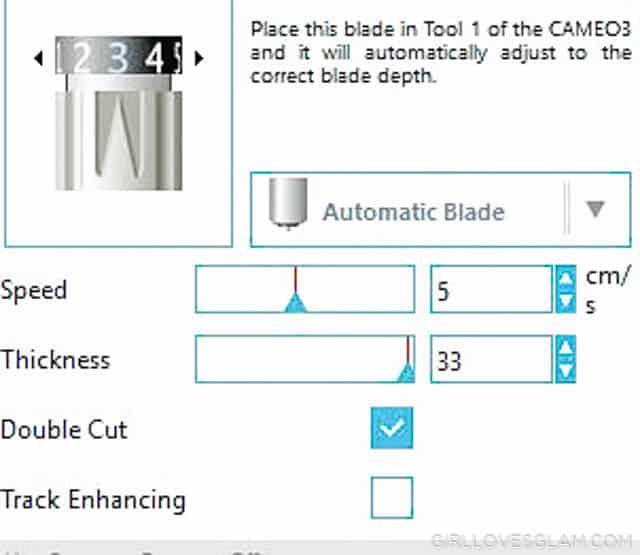
I learned a valuable lesson while cutting this vinyl. I have only used the Cameo 3 one other time and it was to cut regular vinyl that didn’t need the blade adjusted at all. When you are cutting these thicker types of heat transfer vinyl, the blade has to be adjusted. The Cameo 3 comes with an automatic blade that will change to the size it needs. What I didn’t realize is that I needed to let my Silhouette Studio know that I was using the auto blade. I ended up having quite an interesting experience trying to weed the vinyl when I was done because the auto blade hadn’t adjusted. It wasn’t until further in the project that I realized what I needed to do. So learn from my mistake and if you are using the automatic blade, change that setting in your software when you are about to cut!
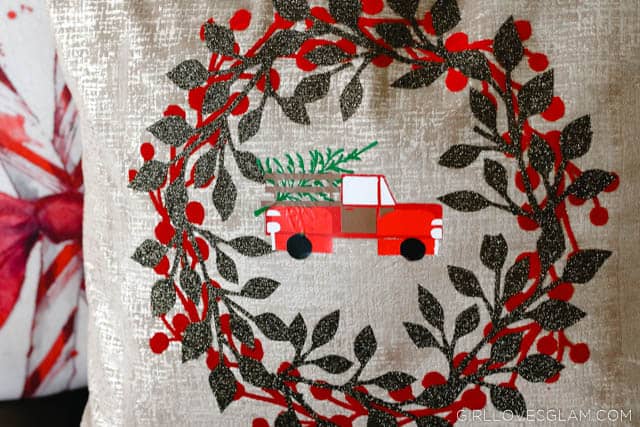
After cutting out the wreath designs, I put the truck design I had also found in the Silhouette Studio store in the middle of the wreath to get the right size that I wanted. I found a tree shape I really liked too and made that the right size for the back of the truck. This is where you can also decide just how detailed you want things to be. I knew I wanted a lot of detail, so I chose a truck shape that had a lot of detail in it and would have several layers. If you don’t want to deal with that many layers, you can either just skip some of the layers or just find a shape with fewer details on it. I cut each piece of the truck and the tree out with the colors of vinyl that I wanted.
Using a weeding tool, I peeled off the extra vinyl from the sheets. I will admit that this can get a little tedious, but I kind of find it therapeutic while I am watching some good TV. Then I finally got to start ironing on the design!
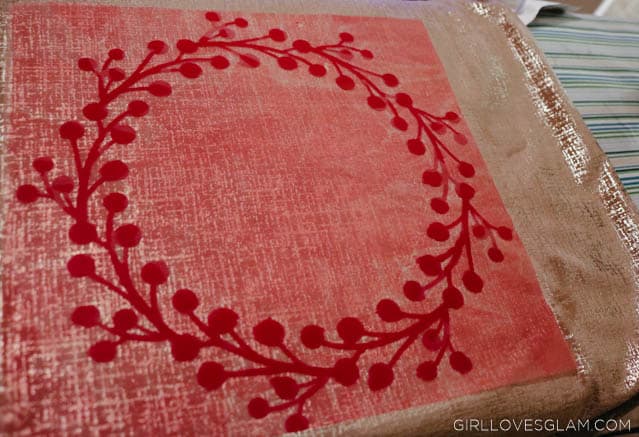
Keep in mind that if you are using multiple types of heat transfer vinyl, you shouldn’t try to layer vinyl over the glitter. It will stick, but the wear won’t be nearly as long as if you layer the other vinyl under the glitter instead of the glitter on the bottom. I started with my berries and then layered the glitter leaves over it. I love having these different textures together!
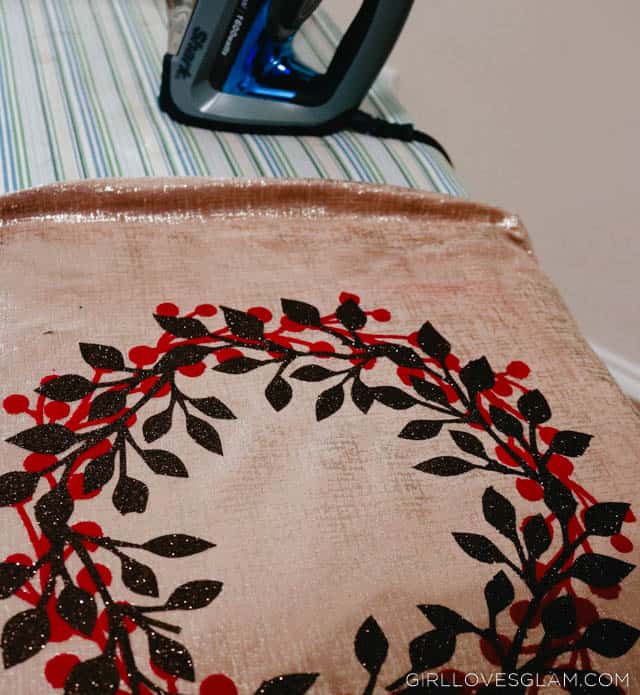
When you are ironing on vinyl, you want to use a decent amount of pressure and make sure each piece gets heat on it for roughly 30 seconds. I like to move it around the whole time and just press down harder than I normally would when I am ironing clothes. Start peeling the plastic sheet off and if the vinyl starts coming off with it, lay the plastic back down and iron it again until the vinyl sticks.
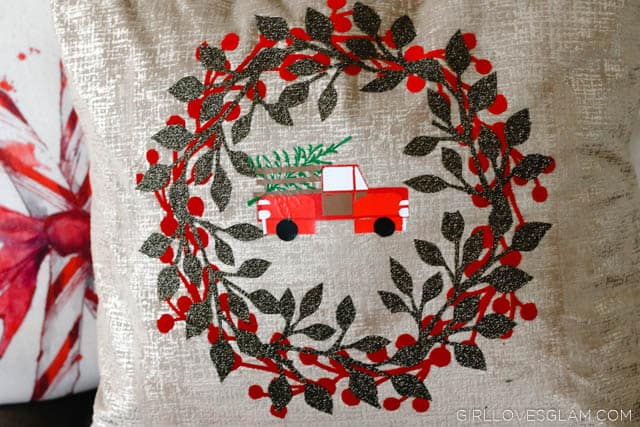
Keep layering your vinyl piece by piece until you have your design all on your pillow! It looks way more complicated than it actually is. It is literally just like laying a piece of a puzzle down and ironing it on before putting another piece of the puzzle on.

I just love how this pillow turned out! I really love how unique and personalized vinyl can make decor for any time of the year.
Christmas Projects / Expressions Vinyl Blog
Friday 2nd of December 2016
[…] Christmas Truck Pillow by Girl Loves Glam […]