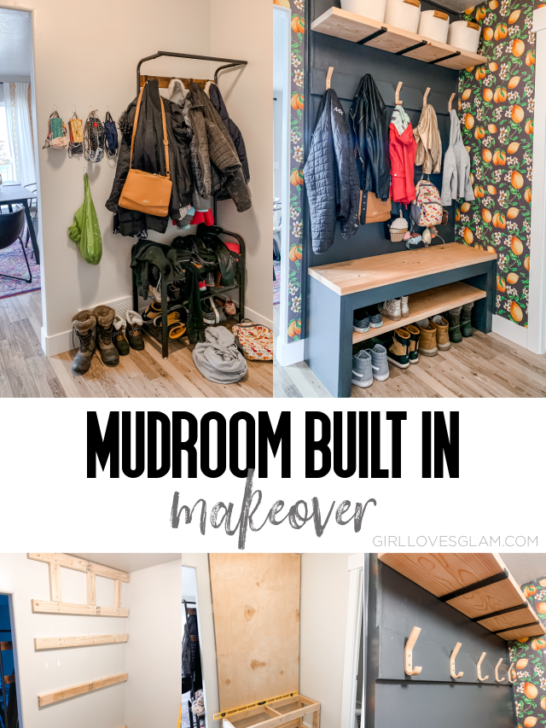

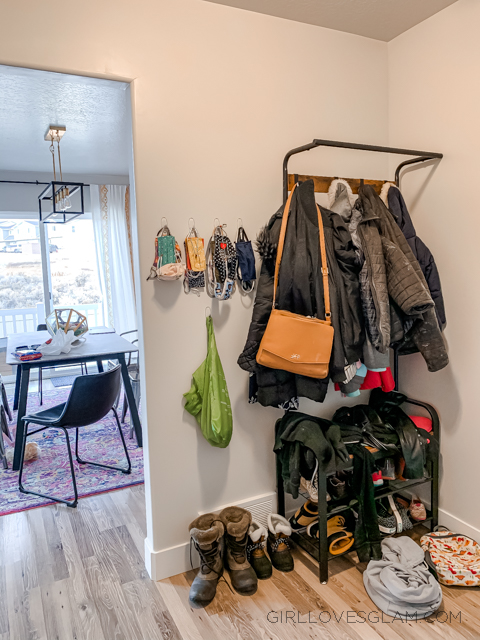
When we built our house, we were very particular with what upgrades we wanted to pay the builder to do. We knew that a lot of the upgrades were going to cost a lot more than if we did them ourselves, so we chose to leave the mudroom bare. It didn’t take long before we learned that our mudroom built in bench project needed to be something we tackled early on. The mudroom was a mess!
Planning a Custom Mudroom Built In
Before we built anything, we wanted to be sure to plan out exactly what our needs were.
We needed shelves for shoes, a bench to sit on to put shoes on, hangers for coats and backpacks, and a shelf for additional storage. I was really particular about utilizing all of the space we had, so we were sure to plan every inch before getting started.
Anchoring a Mudroom Built In
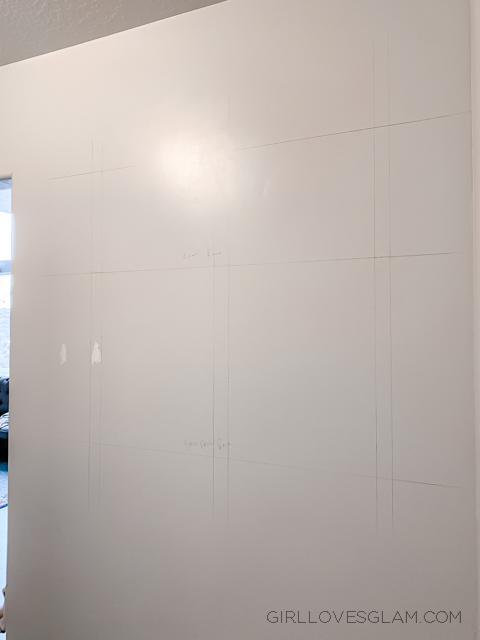
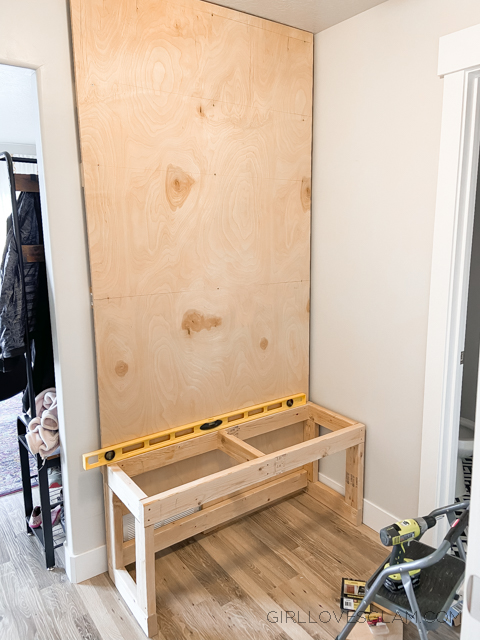
Knowing that there would be a lot of weight being put on this built in, we wanted to be sure to anchor everything well. First, we drew on the wall to know exactly where shelves, hangers, and the bench would go.
Next, we attached wood pieces to the studs in the same places that the bigger pieces would be built on.

Mudroom Built In Design
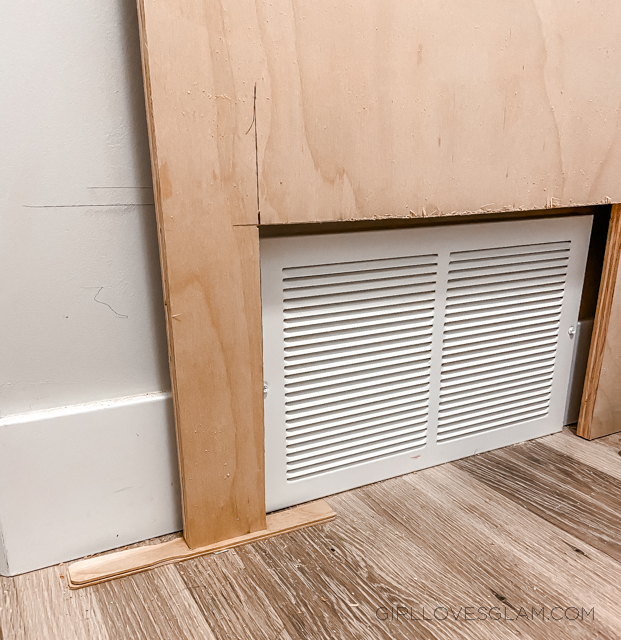
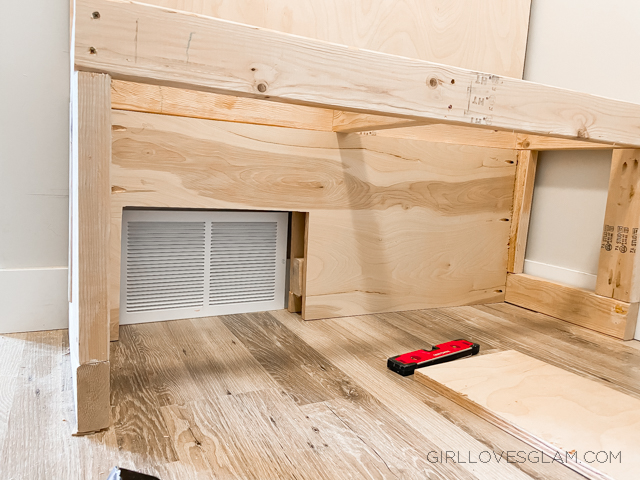
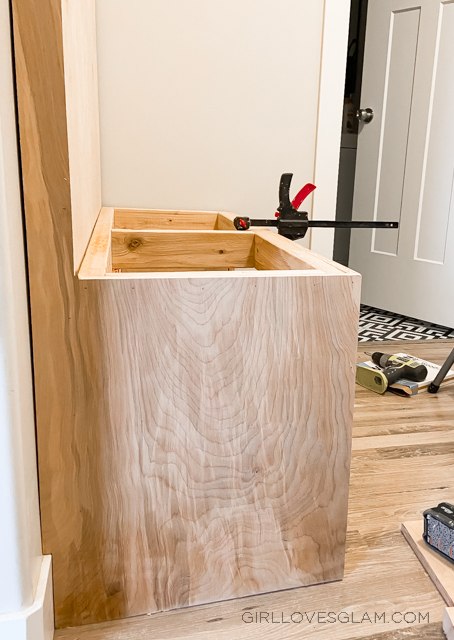
We wanted to built in to almost feel like a piece of furniture and not just as if there were some shelves and a bench attached to the wall, so we essentially built another wall on top to create the base of our “furniture piece”. This was done by cutting a piece of plywood and attaching it to the wood that we installed before, leaving a spot open for the vent.
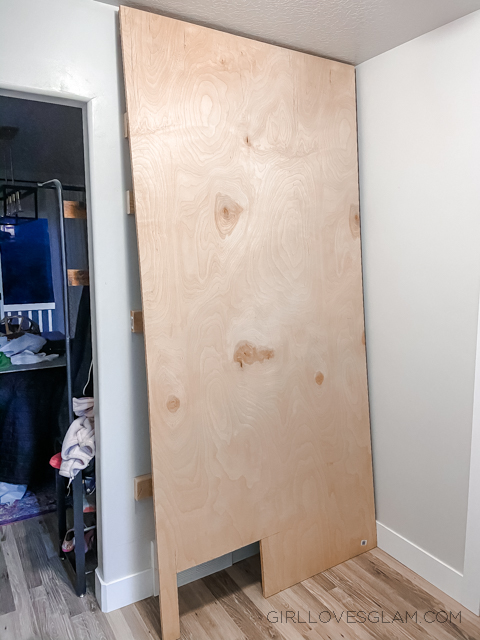
Because no house is perfectly level, we had to add a few shims to the bottom of one of the sides. We figured out how many shims to add and cut them to size. Once they were put there, glued in place, and painted, you couldn’t even notice that they were just shims at the bottom.
Mudroom Bench
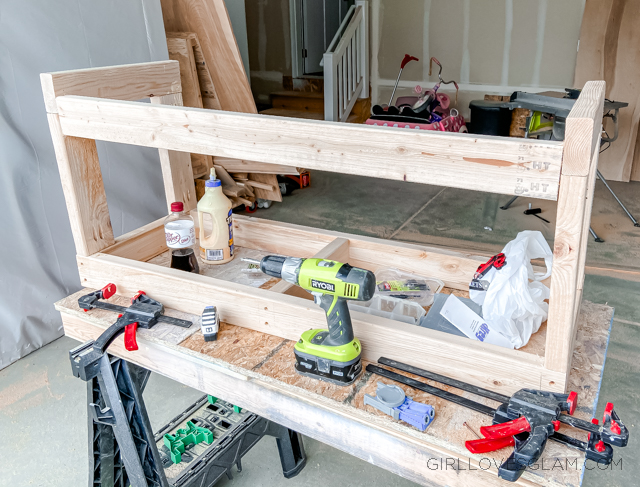
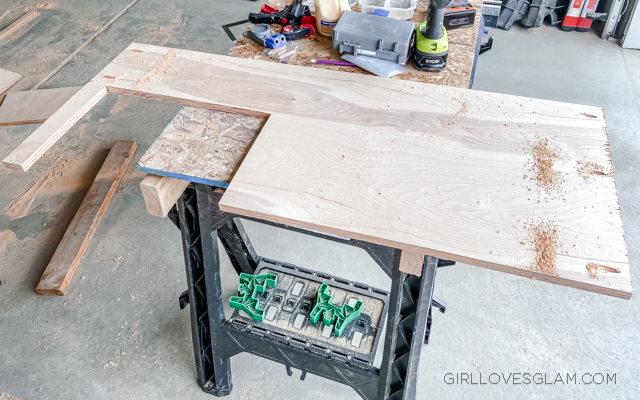
The bench was built separate from the rest of the built in. It was built by creating two rectangles on either side and attaching wood pieces on the front and back of the top to connect the two rectangles. Between the long pieces, there was another piece attached in the middle to create a center support. Then, there was one long piece that was put along the back to create additional support lower as well.
For reference, this photo is of the bench upside down and backwards. This is actually the part that ended up getting screwed to the wall.
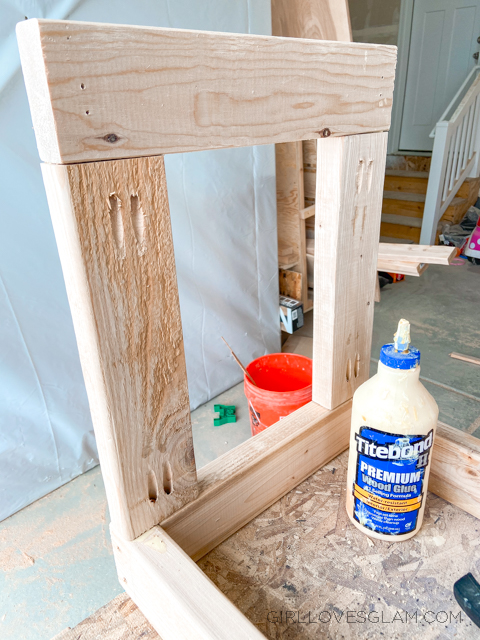
All of the holes that were drilled were created with a Kreg Jig so that the screws weren’t sticking out at all. To make it all even more secure, we put a little wood glue on the wood before screwing them together.
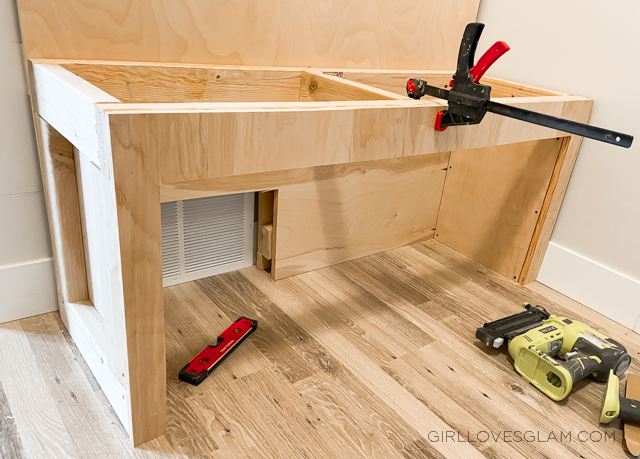
Once the bench was moved into the mudroom, we made sure it was all level and then screwed it into the studs that were created behind the plywood.
To make the back of the bench look flush and finished, we cut another piece of plywood out that fit below the bench.
We attached that to the lower piece of wood on the bench and then cut the extra wood off that ran in front of the vent. This is what really helps level up the built in from looking like a DIY project to a legitimate built in.
We also cut out a front and a side piece to go on the inside and outside to cover all of the individual pieces of wood and make it look much more finished.
Edge Banding the Built In
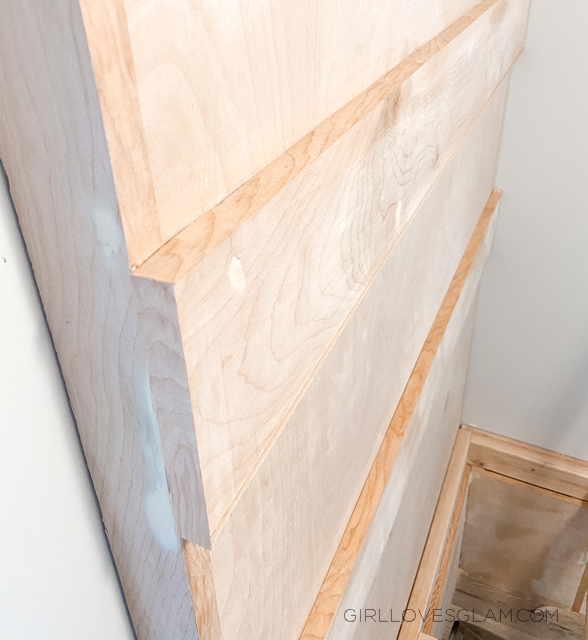
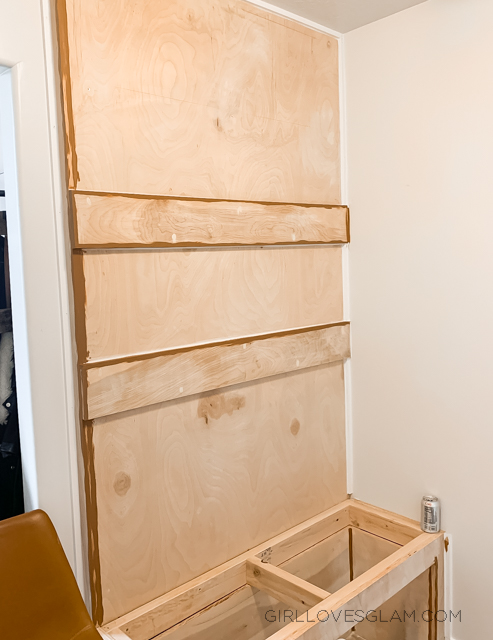
We installed two pieces of wood to go across where the hangers would go but the only problem was that it made it so we couldn’t cover up any of the raw edges that would be shining through. Because we really wanted to make this look like a piece of furniture, or something that was professionally built, we were sure to cover up any raw edges of wood. We used wood edge banding along any small edges that needed to be covered to look more finished.
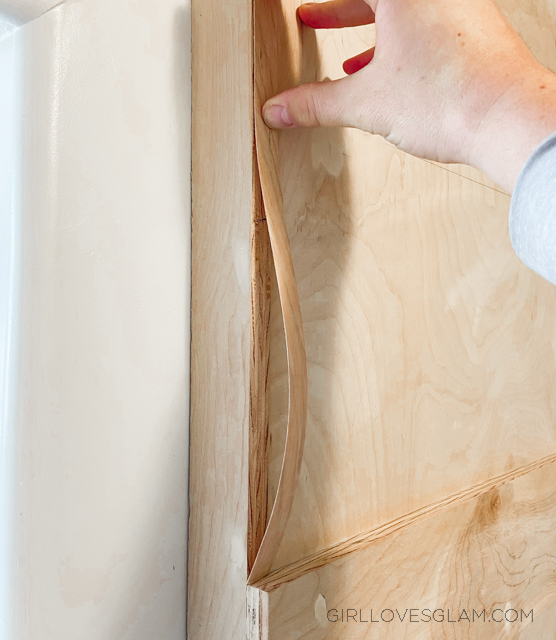
It is crazy how much of a difference the edge banding makes! Just a warning, the edge banding definitely takes some practice. Once we got the hang of it, it was much easier to work with though.
Painting a Built In
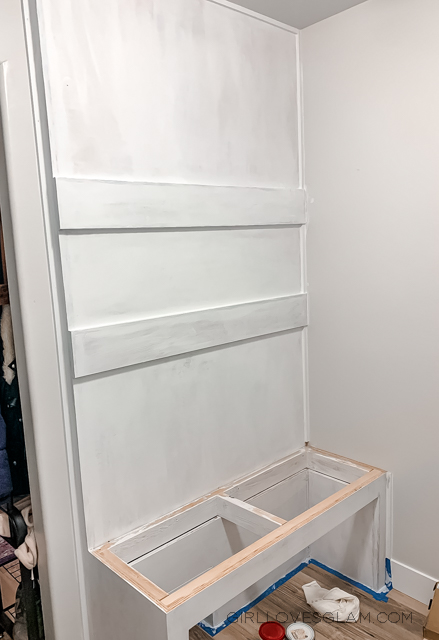
Before painting, we covered all of our nail holes and seams. Do not skip this step! This helps make it all look smooth.
Next came the primer! This is when the project really started feeling real. I loved seeing the wood disappear, making our little project look more like a piece of furniture!
And the best part of all, the paint! Be sure to talk to a professional at the paint counter about what type of paint you need to use. You will want a durable paint, similar to what is used on doors and baseboards.
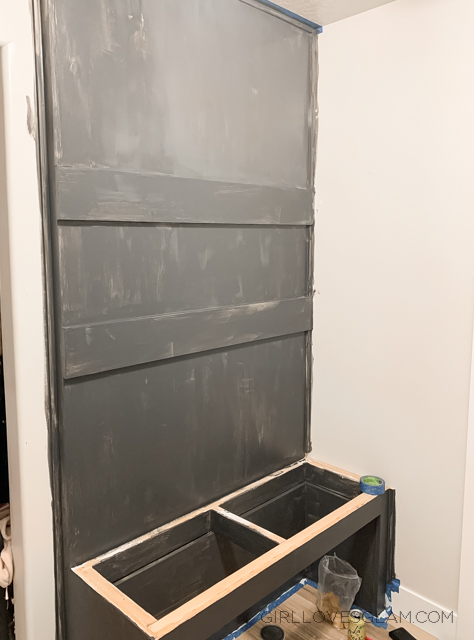
After panting the entire built in with three coats of paint, we installed our bench and shoe shelf.
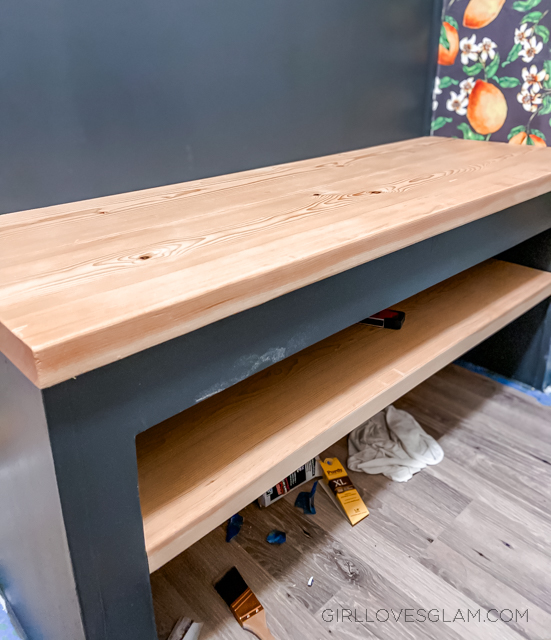
Mudroom Bench and Shoe Shelf
We loved the contrast of wood grain with the gray paint, so we cut pieces of wood to the sizes we needed and sealed them with a clear seal before installing them.
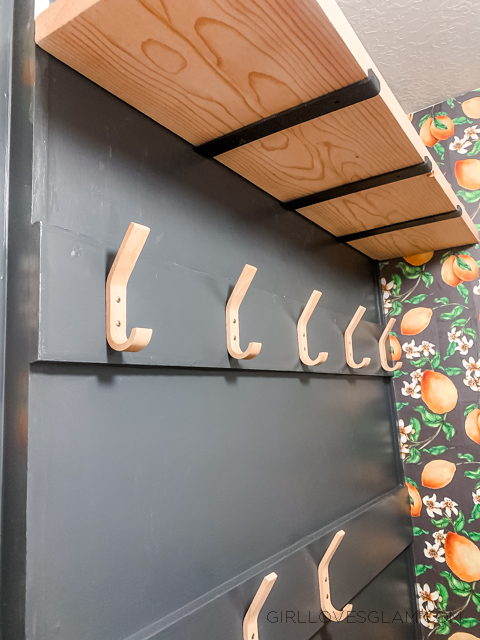
We also hung up the shelf at the top and all of the hangers for the coats and bags. I love that the hangers match the wood on our shelves and bench!
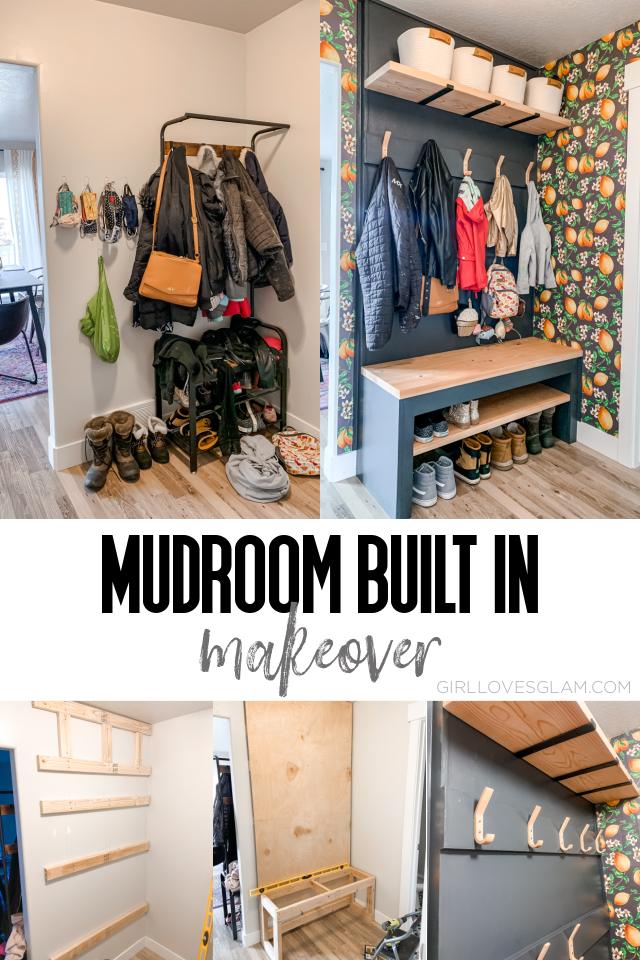
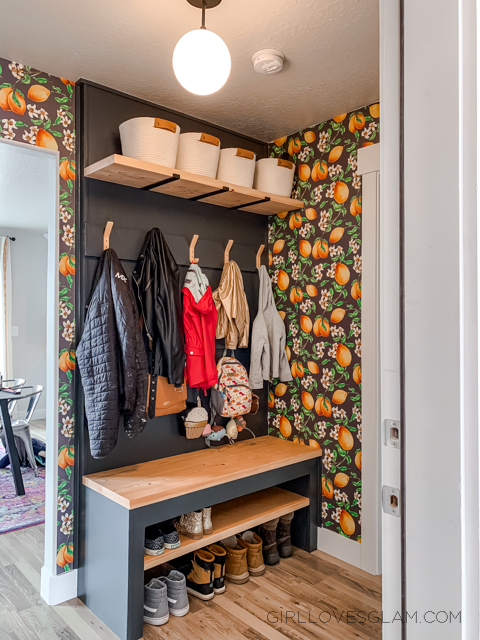
Finished Mudroom Built In with Bench
This project was a lot of work but it was so worth it! We completed this project almost three years ago and it has held up incredibly well. It looks exactly the same way it did on the day we finished it! Going the extra mile to make sure that things were finished well has paid off.
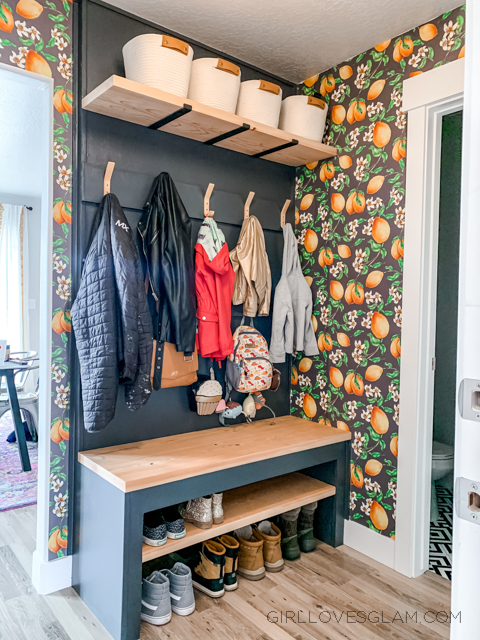
While it isn’t always perfectly organized like it is in these photos, it is leaps and bounds better than it was before. There is a place for everything, which is the key to a successfully organized space.
Here are links to items that we used:
Lemon wallpaper (It isn’t available anymore but I have linked a similar one)
What is one area in your home that you are dying to organize?
Ashley Lawson
Friday 7th of February 2025
I love this! I plan to try this weekend. How thick are the shelves? They look about 2in but I can’t seem to find anything that thick on Lowe’s website.