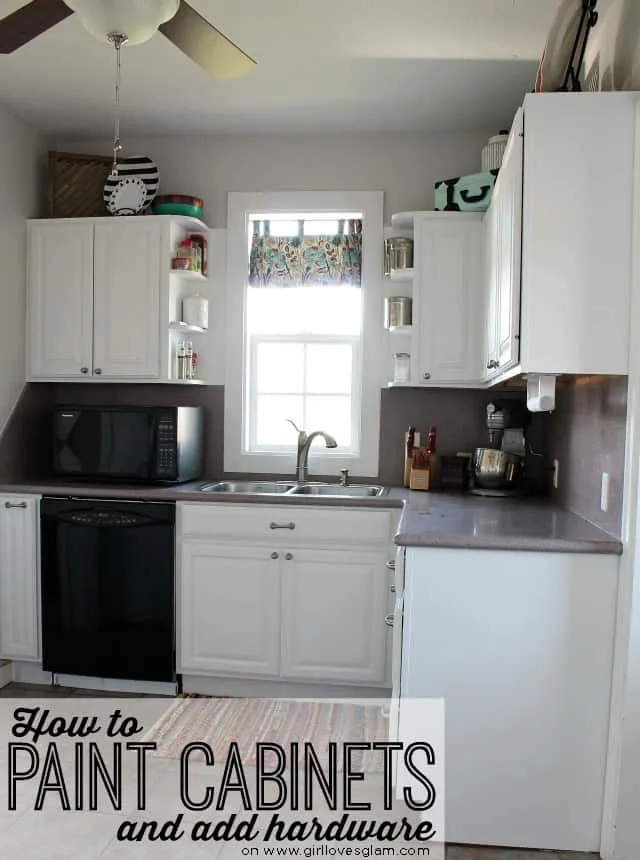
Holy flippin’ crap guys! I have been SO excited to show you my latest, craziest project that I decided to take on… my kitchen makeover!

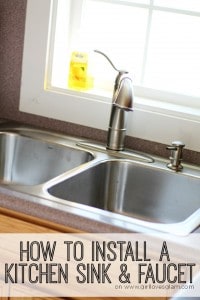
Let me start by saying that it at first, my plan was to paint my kitchen (Crushed Ice from Sherwin Williams), get a new faucet, and add hardware to my cabinets. All of that happened, but as soon as I decided I wanted to put in a faucet, it became clear to me that I needed a new sink too. You can see my full sink transformation and tutorial to install a sink and faucet HERE. Once I installed my sink, I put my gorgeous new hardware up against my oak cabinets and my heart instantly dropped. It looked hideous. Like honest to goodness freaking ugly. Gorgeous brushed nickel isn’t supposed to go up against orange looking oak cabinets people. That’s when I got my next crazy idea… painting my cabinets. It couldn’t be that hard, right? I am going to share with you my tips on how to paint your kitchen cabinets and add hardware to them too! First though, let’s take a look back to my ugly kitchen before any of my kitchen transformation began.
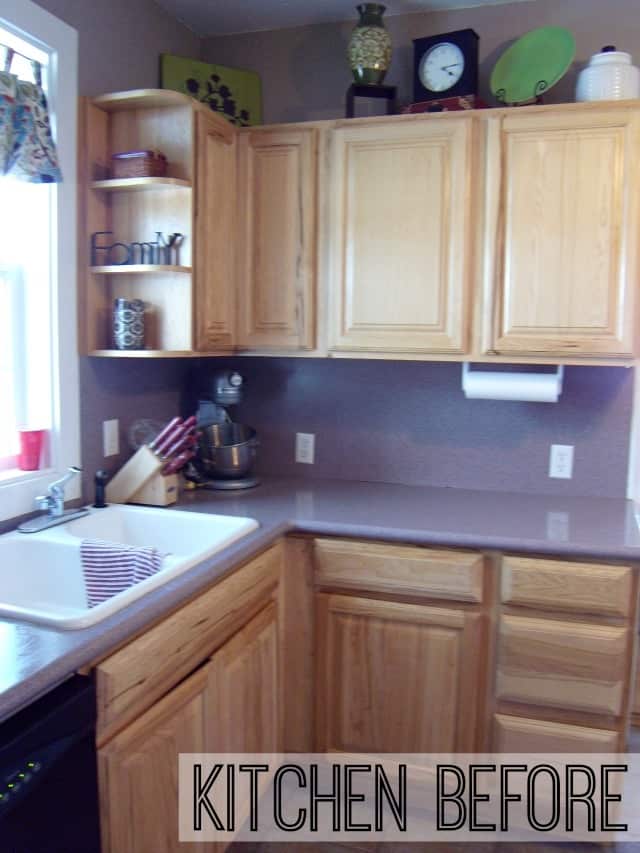
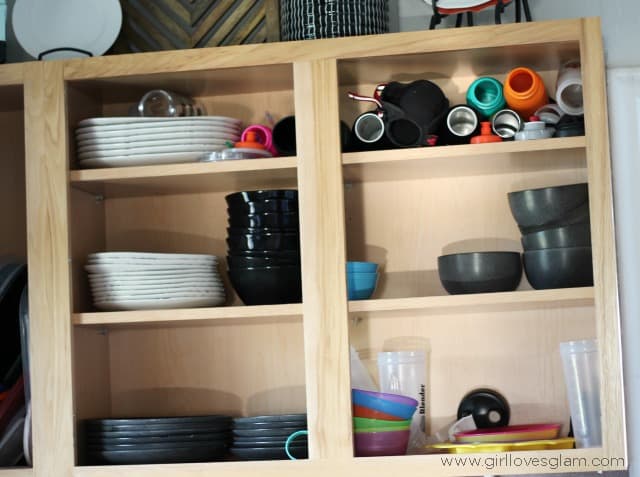
Orange looking oak cabinets, no hardware, dark paint, white sink, shiny faucet… it was all bad. It was totally worth the work. Let’s just take a look at the after before the tutorial… because we can…
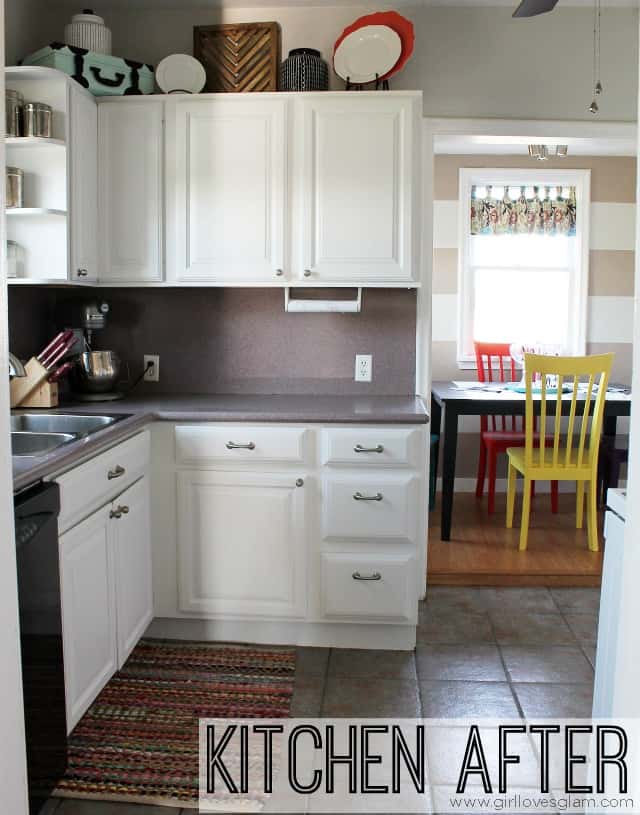
Awe yeaaaahhh.
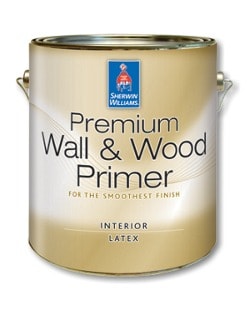
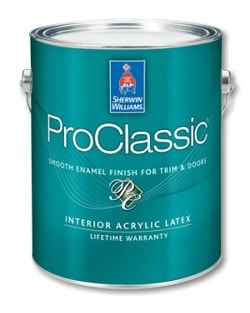
Now for the details. Let’s start with painting the cabinets. I chose to partner up with Sherwin Williams for this project because I knew that they would have exactly what I needed and would be as excited as I was about taking on this ugly kitchen of mine. They recommended using primer and their ProClassic paint for the actual paint color. ProClassic is used for trim and doors usually. It is a paint that is made for areas of higher traffic and can handle the wear and tear that happens with cabinets. I was SO impressed by it.
You just can’t get the expertise and quality that Sherwin Williams offers anywhere else. Every single person I talked to was able to help me with all of my questions no matter how intense or trivial they were. Their customer service seriously just can’t be beat!
First thing is first. Take those cabinet doors off. I put a piece of tape with a number on each of the doors and a piece of tape with the same number in each cabinet where that door belonged. You can leave the drawers in if you want, but I chose to take the drawers out too. I put numbered tape on all of the drawers too. Go over all of the surfaces with sandpaper just enough to take the shine off. I tried using the liquid deglosser stuff, but I wasn’t impressed at all. Nothing is quite like the real deal. Just use a sandpaper that isn’t super gritty. Wipe off any dust with a Clorox wipe.
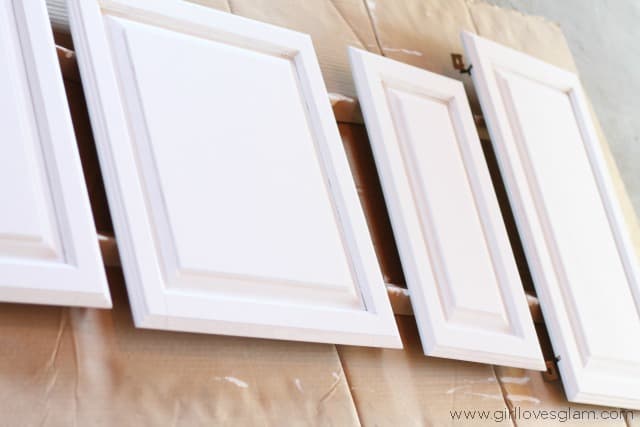
Next comes the paint! I painted every service with two coats of primer. When I was painting around edges and in the grooves of the cabinet doors, I would use a paint brush first, then go back over the whole thing with a small roller so that there weren’t any brush lines. When you are painting the doors, I HIGHLY recommend using painting pyramids. I found the best price on them, HERE. They keep your cabinet doors off of the ground so that you don’t get marks on them if the paint is still a little tacky. I know a lot of people take the hardware off of their cabinets before painting, but I was given a little tip from Sherwin Williams to just try taping off the hardware and painting around the hardware that can be painted around. It saved me SO MUCH TIME by doing it that way. By the time I did one coat of primer on all of the cabinets, I was able to flip them around and do the other sides of the cabinets because I was painting them out in my hot garage. I did both coats of primer and let them sit and dry overnight.
When it came to painting with the actual paint, I used the same technique with the paint brush and the roller. I recommend painting everything with two coats of paint too. Let the paint dry for at least 12 hours between the two coats and let the second coat dry even a little longer before moving on to putting the hardware on. The great thing about using the ProClassic paint, is that it doesn’t need a coat of polyurethane after paint like a lot of paint would require. It is like skipping an entire step all together!
Now for adding the hardware…
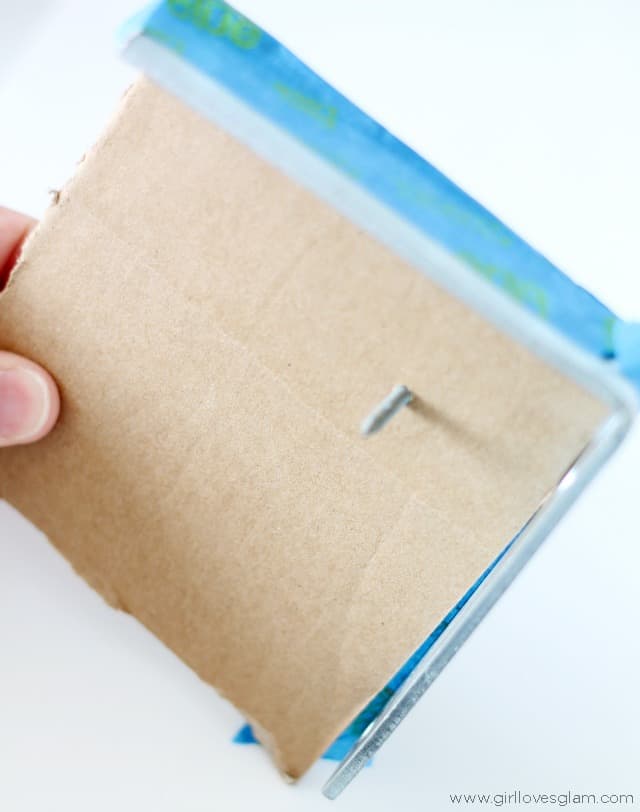
My dad is a genius. I asked him to come help me put my hardware on because I was really nervous about putting the hardware on wrong! He came up with a great way to make sure that all of the hardware would be in the same place on each of my cabinet doors. He got an L bracket and taped a piece of cardboard to it. We measured out where we wanted the hardware to be and stuck a nail through that spot. I lined up the L bracket on the corner of each cabinet door and stuck it with the nail so that my dad could follow along behind me and drill holes into each door. The drawers were a lot more challenging. Almost every drawer was a different size so we had to approach each drawer differently. We measured how far apart the holes have to be and found the center of each drawer and and put that template on and measure where the holes have to be. We drilled the holes where the template said to put them. I followed behind my dad as he was drilling the holes and I put the hardware on each cabinet and drawer. Can we just take a moment of silence for how gorgeous this hardware is?
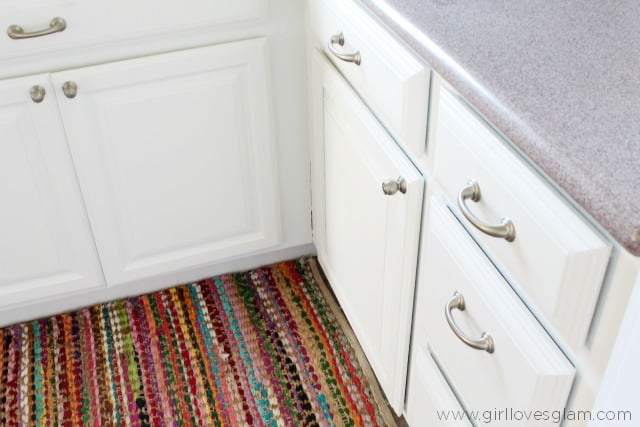
The hardware matches my kitchen faucet perfectly because it is from Moen too! Did you even know that Moen made hardware? I had no idea, but it is perfection! You can see all of the Moen hardware HERE. I am blown away by the quality of this hardware and just how perfectly it matches my faucet and sink. Once I put all of the hardware on, I went and found where each cabinet and drawer belonged and I hung them up back in their places!

Can I get an amen?! I mean seriously. I can’t keep myself out of the kitchen. I find myself just standing in there because it is such a bright, happy place to be. I feel inspired to spend time in my kitchen and create fabulous meals! I seriously can’t get over how much I love my kitchen now.
Now for the real kicker… right as I was in the middle of getting stuff together for this kitchen makeover, my husband was offered a new job… In another city. I was now going to be making over this kitchen for someone else to enjoy. It was very bitter sweet putting so much love into a kitchen that I knew I wouldn’t be able to enjoy for very long, but I loved thinking about the family who would be able to use this kitchen and fill it with memories in the future. Here is other crazy news too. I think this kitchen makeover was such a hit that it sold my house! We accepted an offer on our house just six days after putting it on the market!
So whether you are just moving into your house, you have lived there for years and hate your kitchen, or you are wanting to put your house on the market soon, I HIGHLY recommend painting your cabinets and adding hardware to them! It makes such a difference and it is a totally affordable project that you can do yourself. Once I got the cabinets done, the hardware on, the sink put in, the faucet installed, and the walls painted, it felt like a completely different room. It looks like a real kitchen remodel instead of just a kitchen update. So here I am telling you… if you are on the fence about updating your kitchen, DO IT! It takes a few days of your life, but it is so worth it in the end! So jump right in and face your fears! Make that ugly kitchen of yours beautiful!
Don’t forget to check out these other awesome DIY projects and makeovers too!


DIY Kitchen Cabinet Makeovers Home Design Decor
Wednesday 5th of September 2018
[…] How To Paint Cabinets And Add Hardware from girllovesglam.com […]
20 DIY Painted Kichen Cabinet Ideas
Friday 16th of September 2016
[…] How To Paint Cabinets And Add Hardware {Kitchen Makeover} from girllovesglam.com […]
capturing joy with kristen duke
Tuesday 12th of August 2014
The kitchen looks fabulous!!
Kara
Monday 4th of August 2014
It turned out just gorgeous, and I bet it did help sell your house faster. Everyone loves a pretty kitchen! :)
Crystelle
Friday 1st of August 2014
Wow! Your kitchen looks fabulous! This is such an inspiring post... I might just have to tackle my cabinets as well. Congrats on selling your house so quickly!! xox, Crystelle