
This post was sponsored by Worx Tools. All opinions are my own.
Over the last decade or so, I have grown to really love power tools. The problem is that they can really add up in expenses and space! When I learned about the Worx Tools MakerX, I knew that it needed to be the next tool in our collection. It is a whole system that gives you loads of creative freedom!
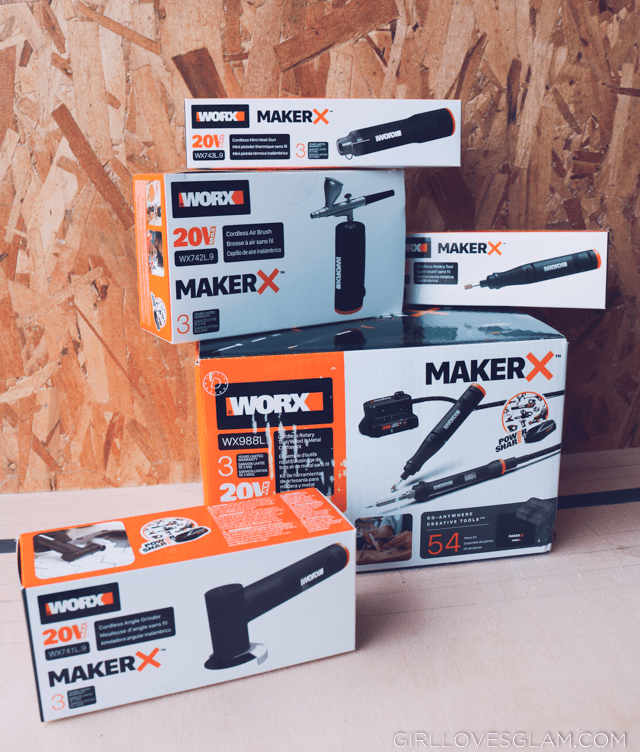
There is a variety of different tools that work with the MakerX system but the one I chose to use for my project was the wood burning tool.
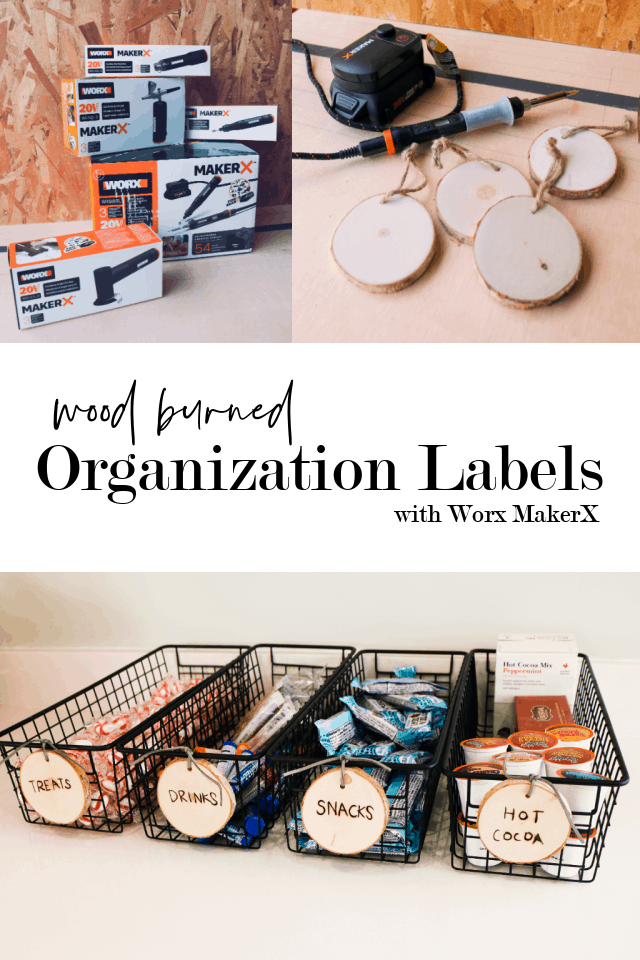
We recently moved into a new home and there are lots of places that need organizing. One of those places is our pantry. I want it to be a space where things are clearly labeled but what is the fun in just a boring label? These wood slice organization labels are a unique way to keep items in their place, without compromising looks.
For this project, you will need:
-Worx Tools MakerX
-Wood slice ornaments
-Pencil
-Leather string
-Scissors
- Write on each wood slice
You will want to write on each wood slice, exactly what you want it to look like. If you mess up, you can just erase it. This isn’t the case when it comes to burning the wood. That is why it is best to get it looking right, before doing the permanent design.

2. Heat up the wood burning tool
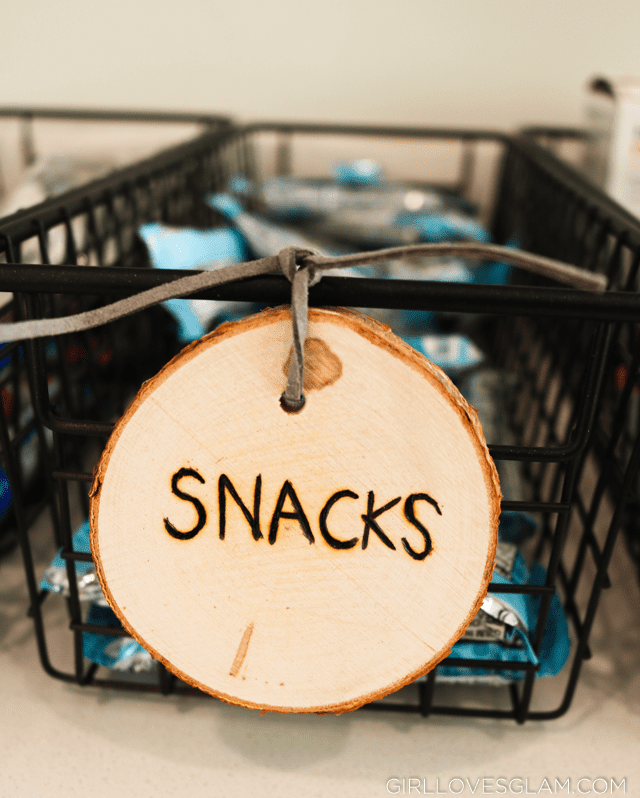
Heat up the MakerX wood burning tool. Once it is completely heated up, trace your letters on the wood slices.
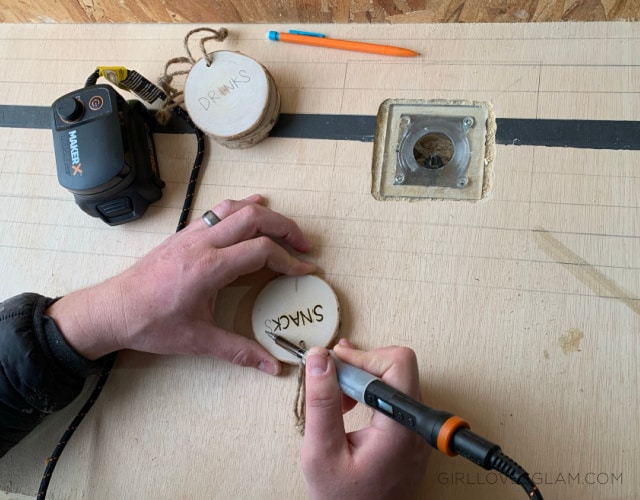
3. Work Slowly
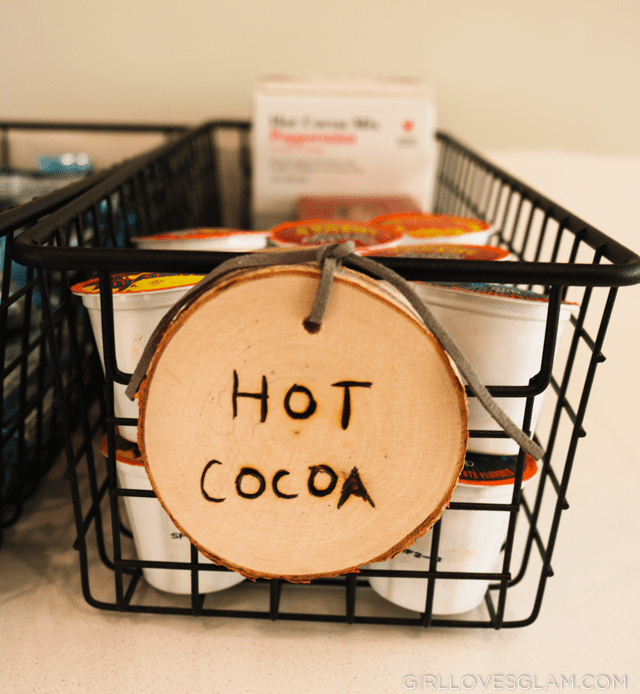
As you trace your words, work slowly. The letters will turn out the best, if you aren’t in a hurry with the wood burning tool. The hot cocoa label doesn’t quite look as good as the rest because it was done in a little more of a rush. Learn from our mistake!
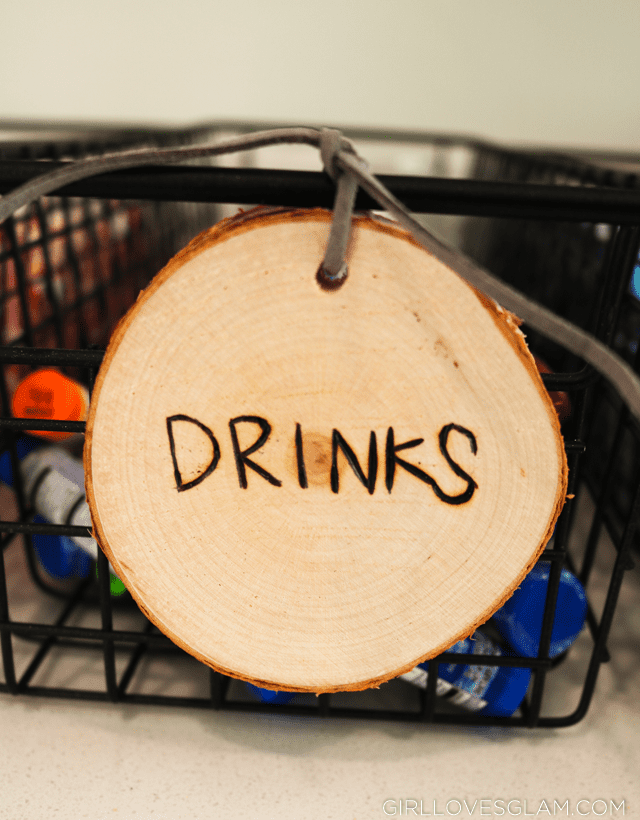
4. Replace string with leather
After you have burned the words into each of your labels, cut off the string it comes with and replace it with leather string.
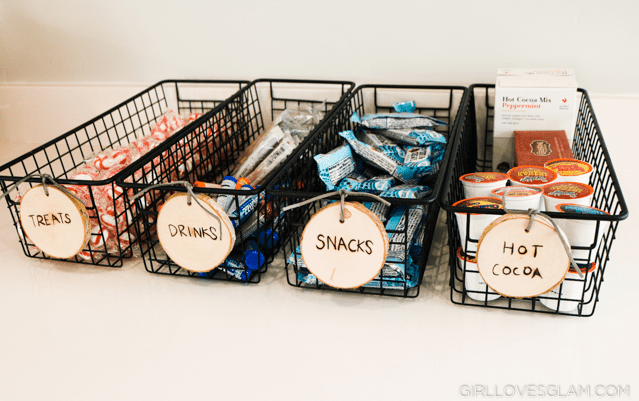
5. Tie each of the labels onto the basket it belongs on.
Organize your baskets for your pantry and tie the labels onto the corresponding basket. This is a simple way to not only organize your space but let it look like a piece of decor in your home.
I can’t wait to try even more projects with our Worx MakerX tool in our new home! The possibilities are endless!