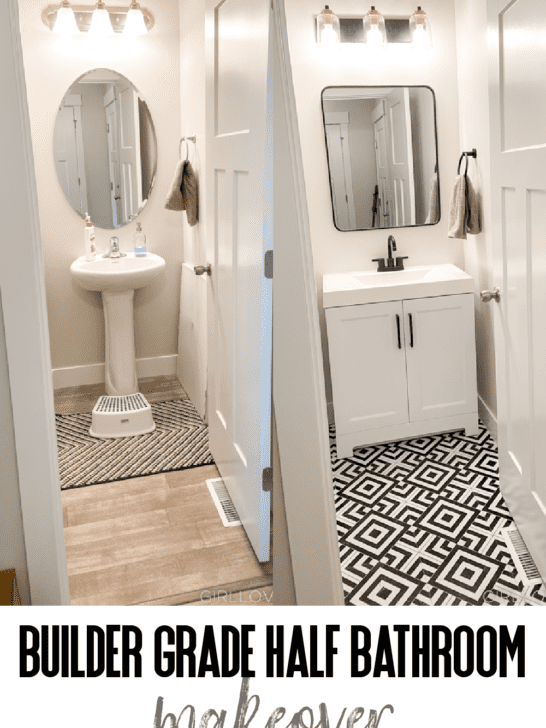
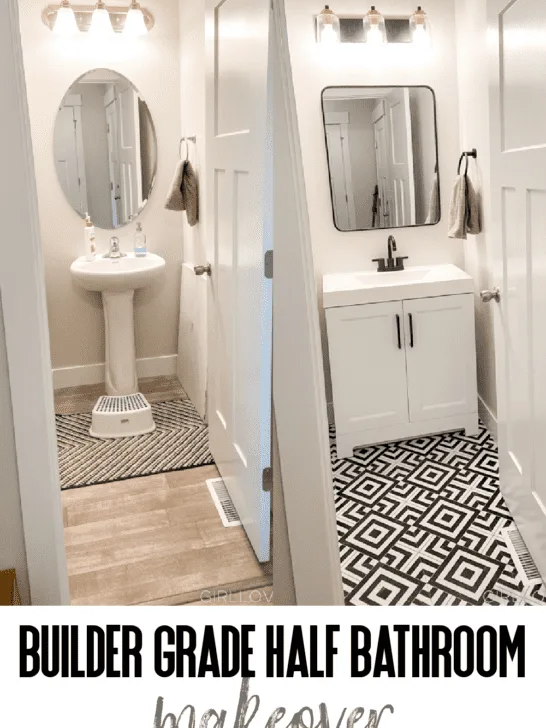
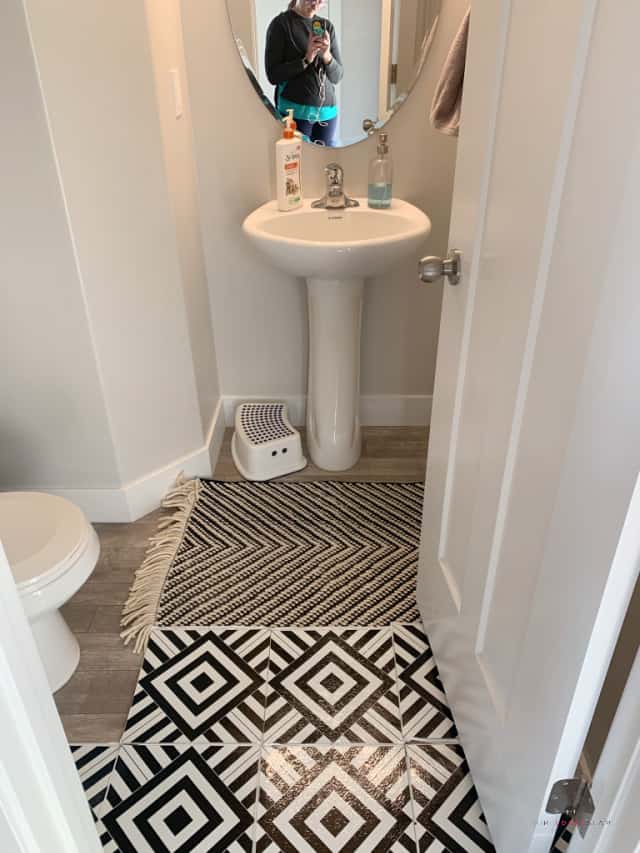
When we were building our house, we prioritized upgrading things like cabinets, countertops, and structural things that couldn’t be easily changed after the build. One of the first upgrade projects we took on when we moved in was upgrading our builder grade half bathroom. It was as basic as you can imagine but it was a lot of fun to turn into a unique space of its own.
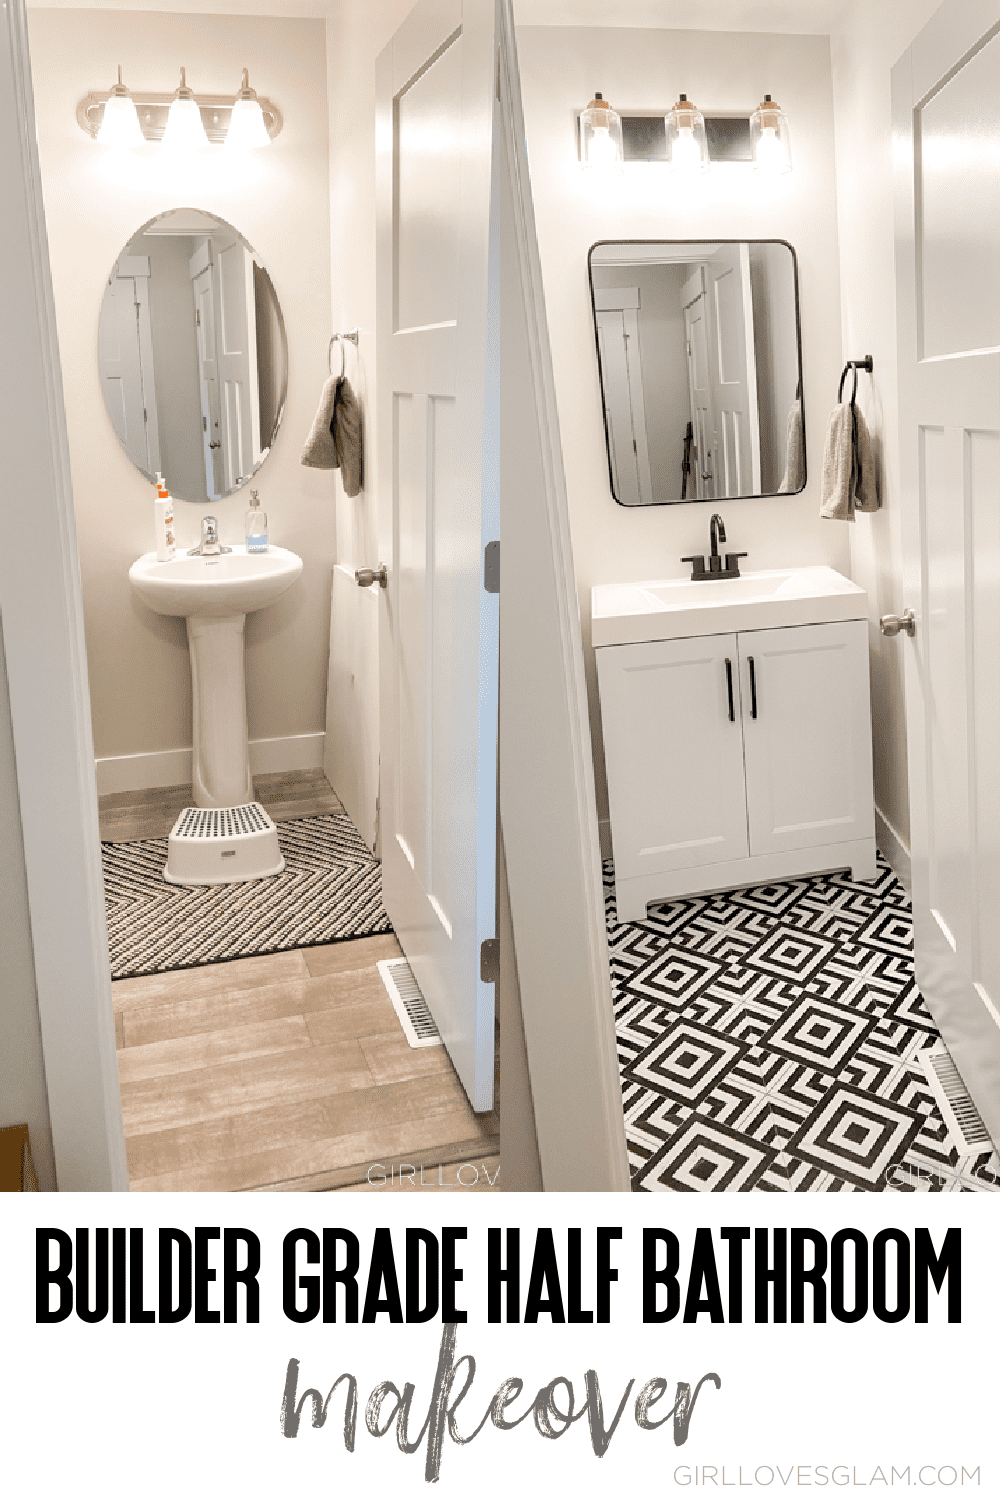
The first thing that we really wanted to fix was the flooring. We knew that one day, we would want to do real tile but we didn’t have the budget for it immediately. We decided to do a peel and stick tile that would allow a full makeover look, without the full makeover budget. It was also a great way to test out a bold look, without having to commit to it fully.
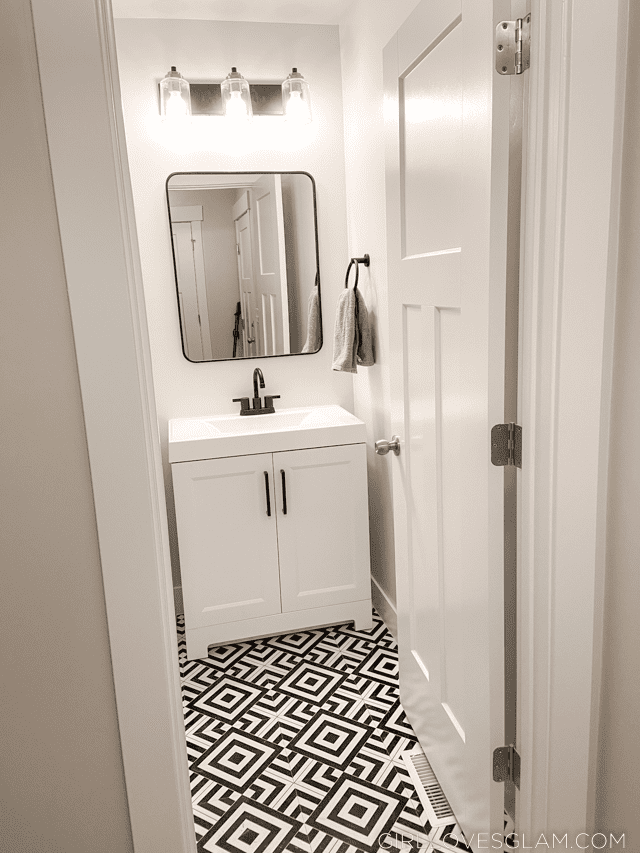
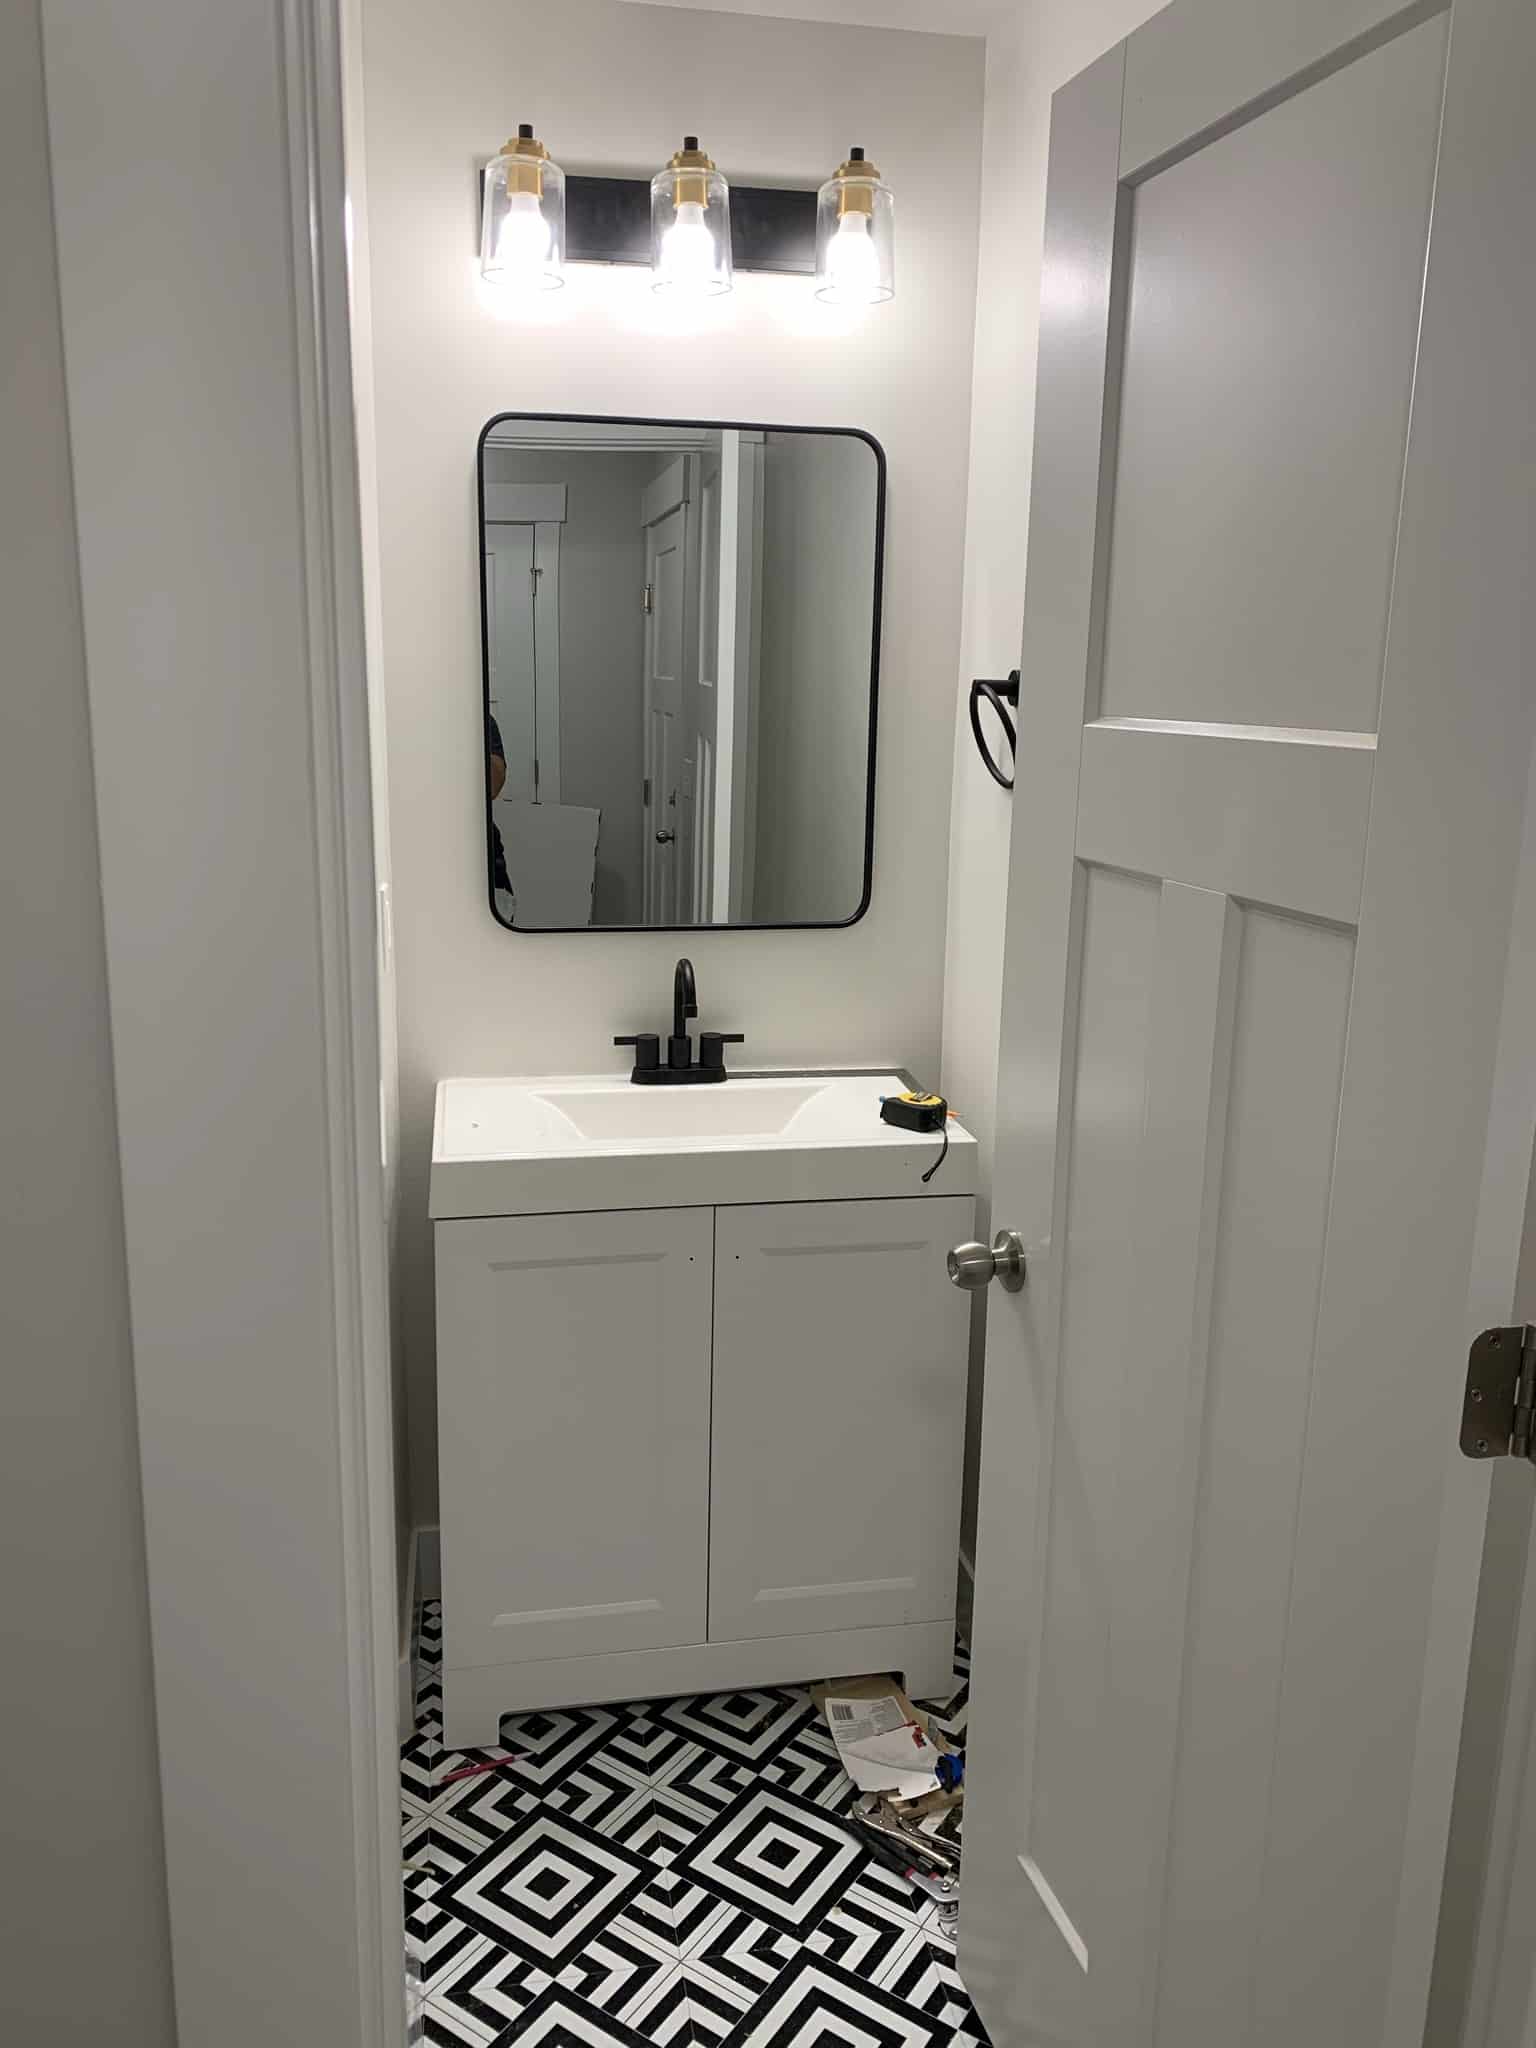
We also switched out the light fixture, added a cabinet instead of a pedestal sink, put in black towel and toilet paper hooks, and traded the builder grade faucet for a sleek black one.
Builder Grade Bathroom Makeover Materials
Towel and Toilet Paper Holders
Black Rectangular Rounded Edge Mirror
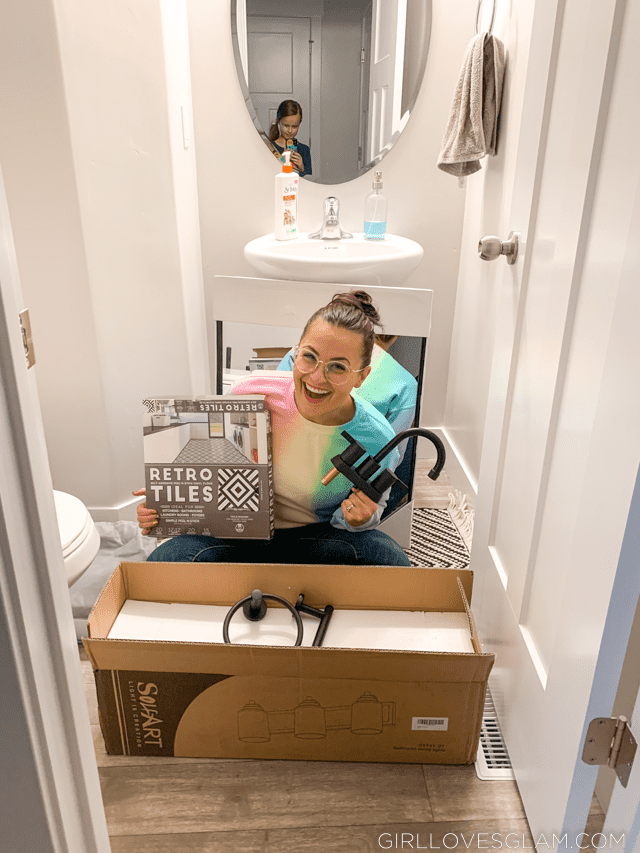
Tips for Applying Peel and Stick Tile
I will be honest, the peel and stick tile was much harder to apply than I had anticipated. I thought it would be a simple peel and stick. But what I didn’t consider was the fact that there would be tons of angles to deal with. I had to cut them backwards of how they were measured and it was kind of a joke. What I thought would be an hour long project, ended up taking several hours and many swear words form my mouth.
My biggest piece of advice is if you are going to be using peel and stick tile in a really small space, start from and edge and work your way from there. That is how I first had it set up but once I read the instructions, I decided to start in the middle. That was a bad mistake. If you are working in a larger space, I can totally see why you would want to start in the middle. But for a small space, working with one of the straight edges given would have been really helpful and would have prevented a lot of the tough cuts that had to be made.
Peel and Stick Tile Over Existing Flooring
Another tip when it comes to using peel and stick tile is to make sure that you are vacuuming the space as you go. Any little fibers that get under the tile will make it less sticky.
That leads me to my last tip. Make sure to order enough that you will have some extra. We have had the peel and stick tile in our bathroom for almost 2 years and there are a few of them that have started to shift because they are in the highest traffic spots. If I had extra, I could use them to replace the tiles that have shifted and aren’t quite as sticky anymore.
While the flooring is far from perfect, I am still glad that I did it. It brings a lot more personality to this otherwise boring bathroom and it was something that we were able to do on a budget.
Replacing Bathroom Fixtures
It is crazy how much of a difference can be made by replacing a few fixtures. Sadly, I think that bathroom light fixtures get overlooked a lot. By replacing one light fixture, it can completely change the overall feel of the space. One thing to note is that it is always easier to switch out a bathroom light fixture that is about the same size or larger than the previous one. Sometimes there are some pretty wonky holes and wiring behind bathroom light fixtures that are hard to work with.
The same goes for the little things like towel hooks and toilet paper holders. Such small items but they definitely don’t go unnoticed when they are no longer the blessed builder grade chrome.
Replacing the faucet ended up being a larger project than we had originally intended. We had originally planned on keeping the pedestal sink but there was no way that we could replace the faucet, without taking it completely apart. By the time we took it apart, we decided to replace the whole thing so that we could actually have storage in the bathroom. It ended up being a blessing in disguise but was just not something we had originally intended.
Taking Down a Builder Grade Mirror
We were pretty nervous about taking down the oval mirror that the builders put up. We were pretty convinced that it was going to shatter. But after some research, we learned that taking down a frameless mirror is actually really simple!
Start by putting wood shims around the back of the mirror. Keep adding more and more shims. Just tap them in lightly, until you start to feel the adhesive on the wall starting to disconnect. Keep adding more shims until the mirror pops off of the wall. You will want to make sure that you have another person there to help catch the mirror!
Replacing the mirror made a much larger impact than I had even realized it would. I love it!
Builder Grade Bathroom Upgrade
If you have a builder grade bathroom that you hate but are too nervous to give it a little facelift, wait no longer! It was such a fun weekend project and I have been able to enjoy it for two years now! You don’t need to create a massive project in order to make a really big impact in a space. This project was around $400 total, including the cabinet that we hadn’t originally planned on. Totally worth the investment!
Rebecca
Friday 31st of March 2023
Where did you get the bathroom vanity from?
McKenzie
Monday 10th of July 2023
Home Depot!