
This post contains affiliate links.
I’m excited to share this tutorial that I got to share with The Ribbon Retreat!
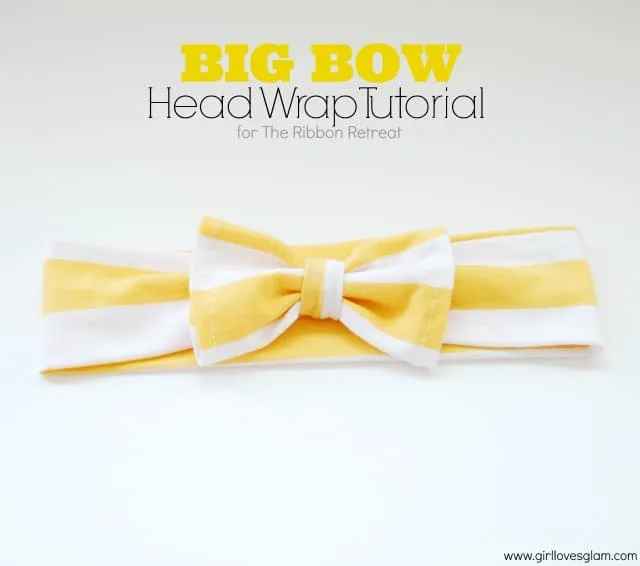
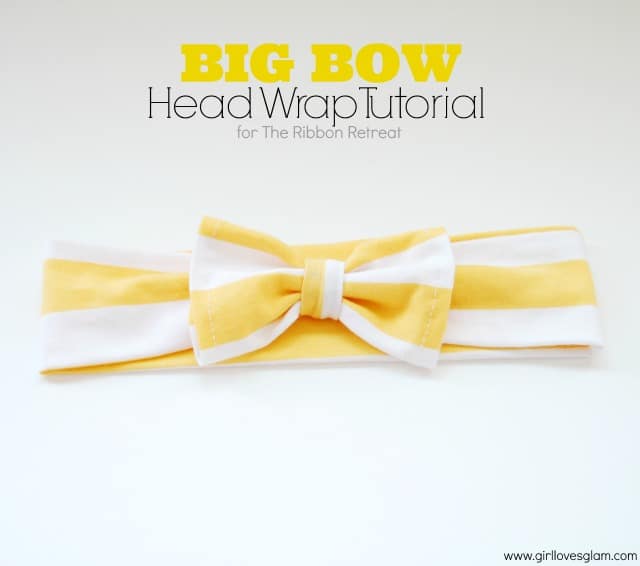
I absolutely love accessories. That is why when I saw The Ribbon Retreat’s new knit fabrics, my mind instantly went to how I could make an accessory with it! Head wraps are so popular right now! I wanted to put my own, extra girly twist on the traditional head wrap by adding a big bow to it! They are so easy to make!
You will need…
*Knit fabric from The Ribbon Retreat 1/4 yard will give you enough to make 2 or 3 head wraps)
* Ribbon retreat no longer carries fabric, so I had to find another supplier.
*Sewing machine
*Thread (stretchy kind is best, but not necessary)
*Needles
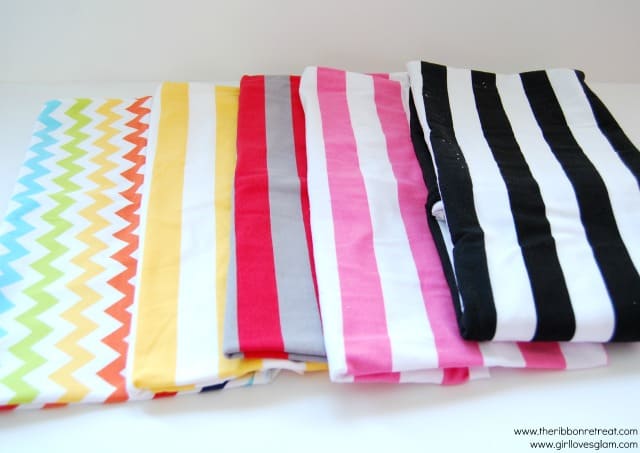
I thought I would try out a bunch of the different designs of the fabric so my daughter and I could have headbands for all of our outfits! Isn’t this fabric amazing?
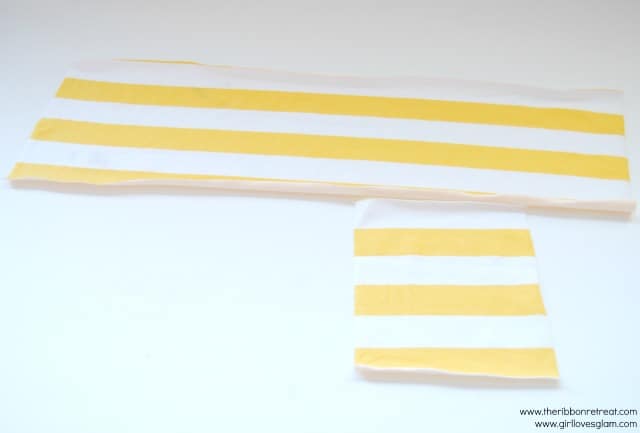
Cut the fabric into a long strip that is long enough to wrap around your head. Mine was cut at 20 inches. Cut it twice as wide as you want your head wrap to be. Mine was cut at 5.5 inches wide. Cut another piece for the bow that is almost a square. Mine was 6 inches by 5 inches.
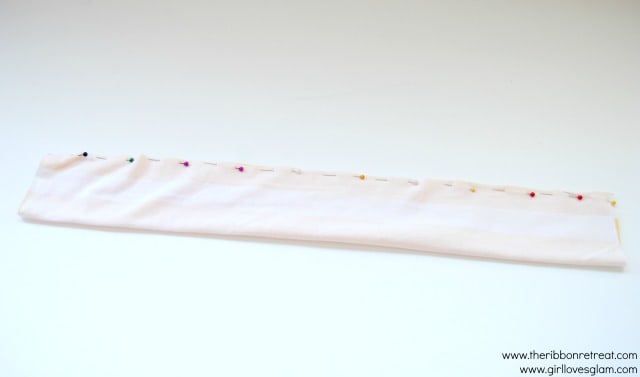
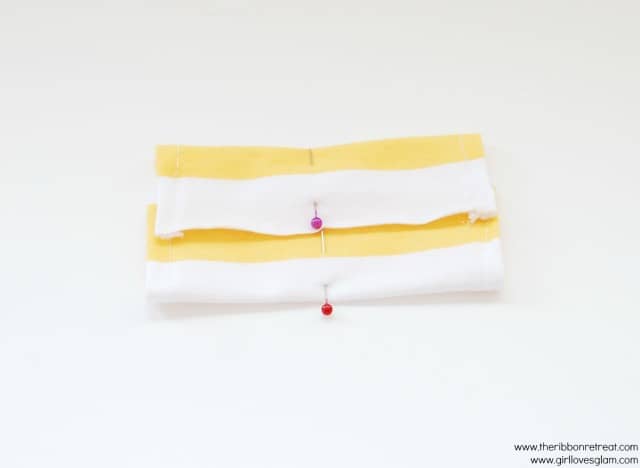
Fold the long piece in half and pin it together.
Sew a straight line where your pins were.
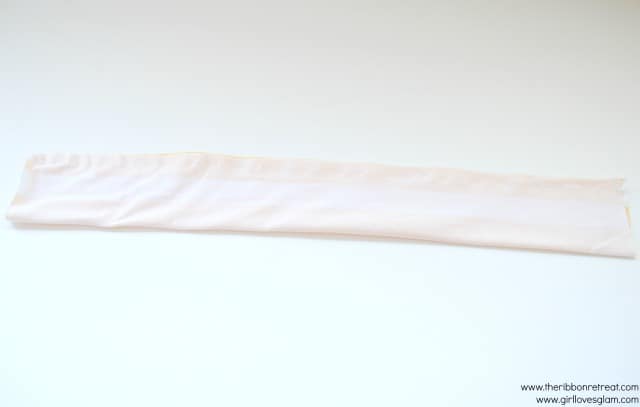
Pull the long strip right side out. Pin the two edges together and sew along the edge.
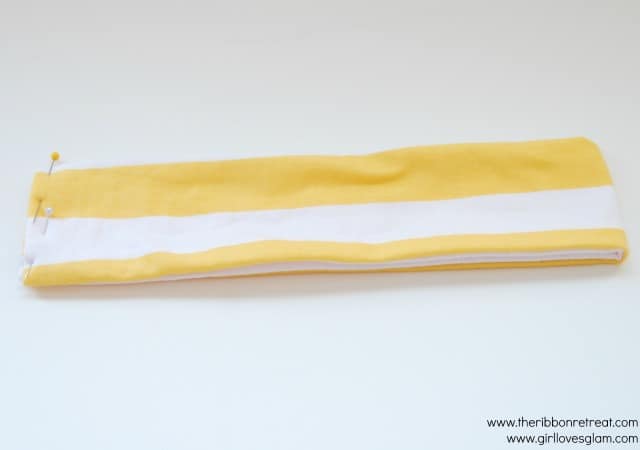
Take the smaller piece of fabric and fold over two outside edges and sew them.
Fold the other sides into the center. Overlap them slightly. Pin through the center of the square.
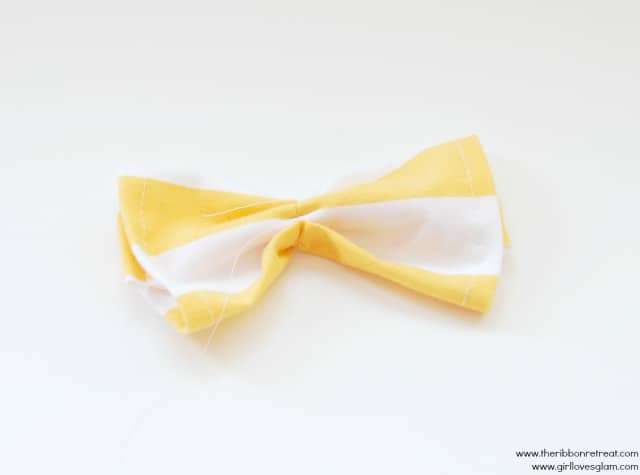
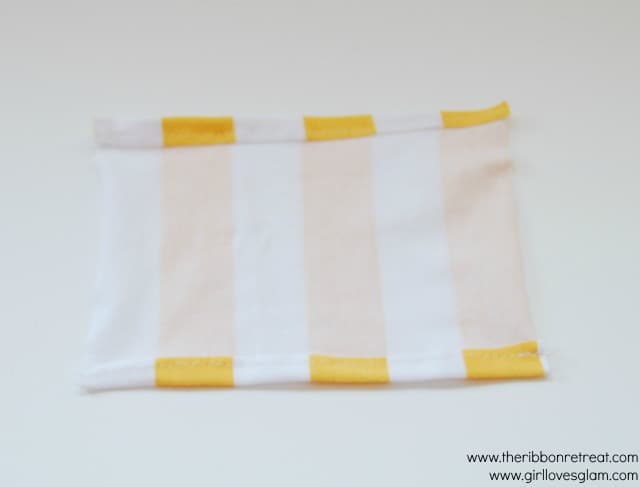
Sew a line where the needles are. Make sure to sew a long stitch. Pull the string and create a ruffle in the center, creating a bow shape.
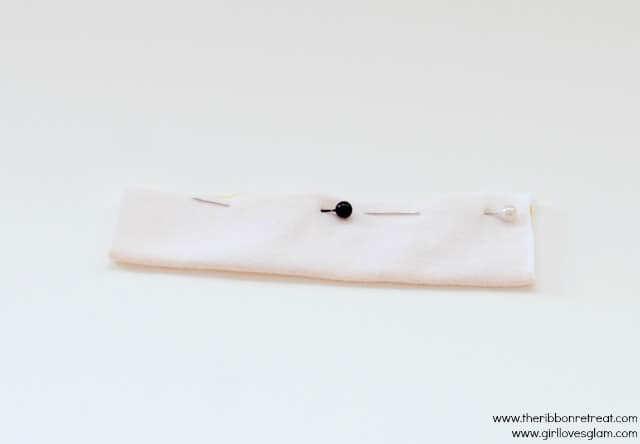
Cut a smaller piece of fabric so it can be the center of the bow. Fold it in half with right sides together and pin the edge. Sew the edge together and flip it right side out.
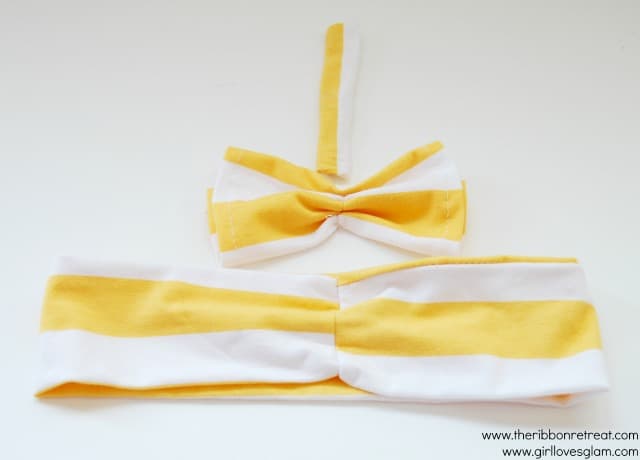
Lay the head wrap down, then put the bow on top of the sewn crease. Lay the center piece of the bow on top of the bow.
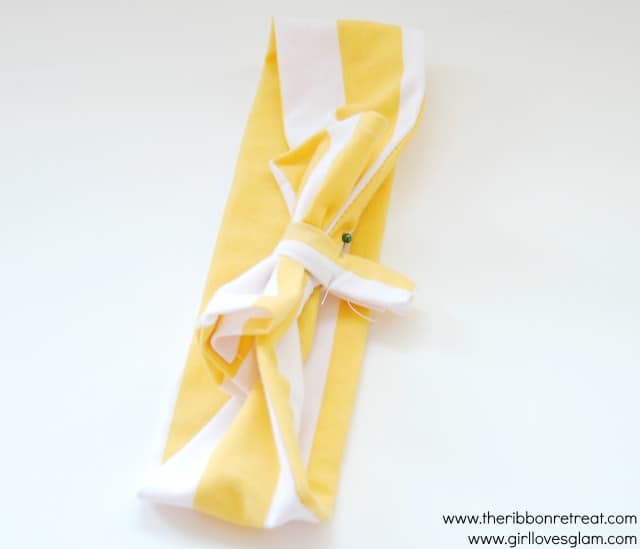
Pull the center strip around the wrap and pin it. Sew the back of the strips together and cut the excess fabric off.
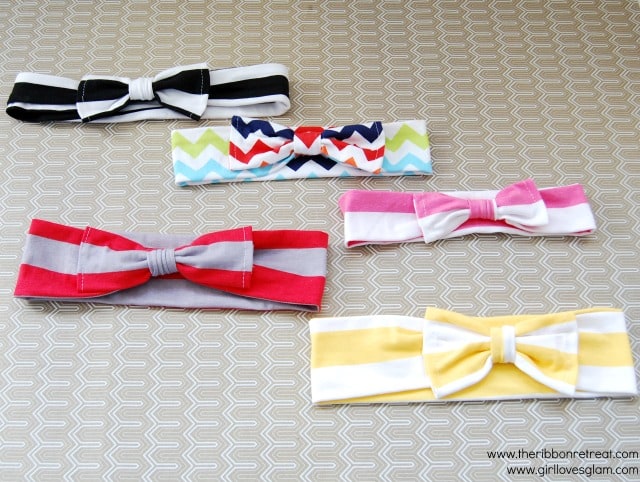
Repeat these steps until you have an entire collection of big bow head wraps to wear!

I love wearing mine and so will you!
Chain Link Leather Bow Bracelet - Girl Loves Glam
Thursday 9th of October 2014
[…] […]
Lauren
Sunday 8th of June 2014
I'm new to sewing and DIY making. How much would you say it costs for you to make a headband. Also how long does it take you? Thank you! One of the best tutorials I've seen :)
McKenzie
Sunday 8th of June 2014
It just depends on how much the fabric costs that you use to make these. They are super cheap! They only take about an hour to make.
Jasmine
Saturday 26th of April 2014
Great tutorial! Thanks for this. Just wondering if you don't use stretchy thread, does it mean that the headband can't stretch much at all? I tried with normal thread but I found that it defeats the purpose of using a stretch material coz it can't stretch when the thread can't stretch. Thanks
McKenzie
Sunday 27th of April 2014
The headband will still stretch because you only have one seam. It isn't as stretchy as it would be with the stretchy thread though.
Rachel
Thursday 27th of March 2014
so cute! I did something similar just using ribbon
Kathleen @ Fearlessly Creative Mammas
Sunday 19th of January 2014
Too cute! I love The Ribbon Retreat's fabric. I can see myself getting into a lot of trouble in their store.