The moment we have all been waiting for is finally here.
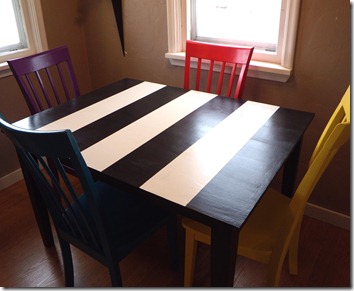
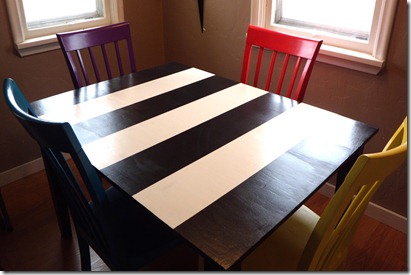
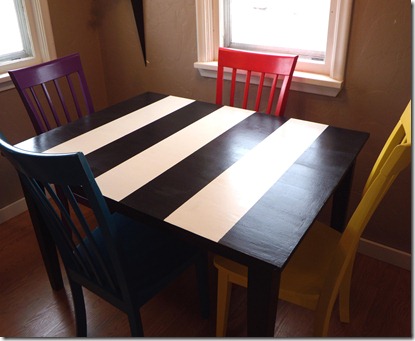
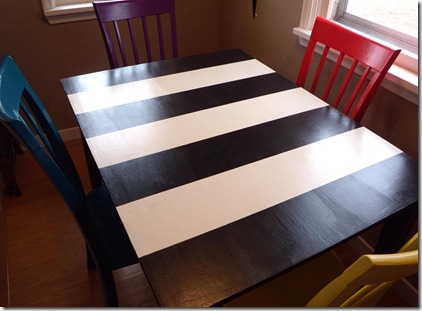
Isn’t my new set up the cutest thing you have ever seen? I am so in love. It was a lot of hard work to get it to this point, but I am so glad that I did it. This is what I did…
Your first step, is to sand everything down. I didn’t take pictures of this, but you’ll want to sand it all.
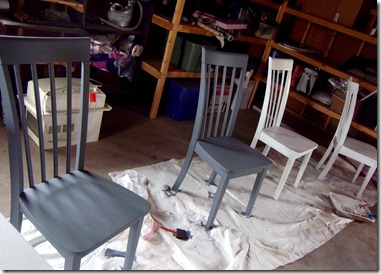
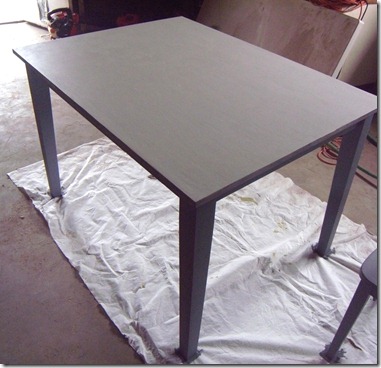
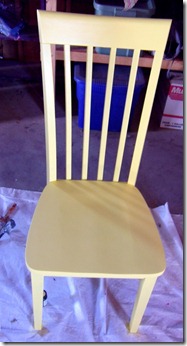
Then you need to prime it. For the chairs, I used tinted (gray) primer on the blue and purple chairs. I used white primer on the yellow and red chairs. For the table, I used the tinted primer on the legs and white primer on the table top.
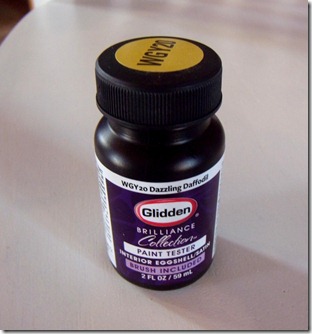
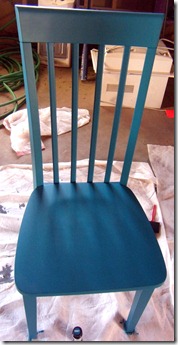
Now it is time to get out some color! For the chairs, I knew that I wouldn’t need a lot of paint for each of them. A great little tip is to just purchase the paint testers. Most of the chairs only used one. The yellow chair needed another bottle.
I announced what colors I was using here, but when I got to the store, they didn’t have Rich Raisin. I substituted it for Regal Purple. All of the colors went on great, or at least I thought they did…
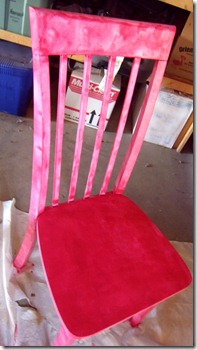
Until I got to the red chair. The paint just wasn’t covering like the other paint colors had. I put 2 coats of paint on all of the chairs and the red one still only looked like there was 1 coat on it. Something had to be fixed.
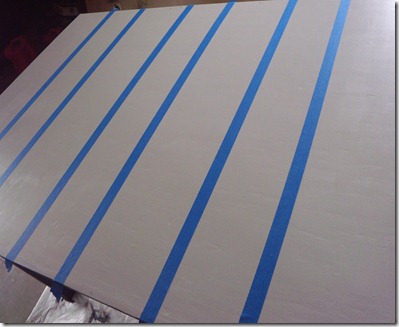
Luckily, my mom had some extra paint that we had used to paint my bedroom at her house when I was in high school. It worked perfectly! I was so excited once I had all of the paint on my chairs because that meant I could start painting my table! I was sure to paint the entire top white, and the legs and edges black. I put 3 coats of white on the top, and 2 coats of black on the legs and edges. Then I measured the entire table. I knew I wanted 4 black stripes and 3 white stripes. I took the entire measurement of the table and divided it by 7 to get the measurement of each stripe. I marked the measurements on each side of the table and then taped it off.
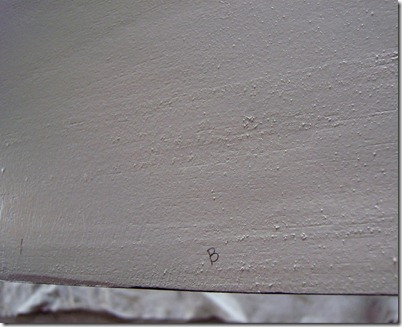
The white is already painted, so be sure to put the edges of the tape right where you want the black paint to go to. I wanted to be sure that I didn’t paint something black that was supposed to be white, so I labeled the black stripes with the letter “B”.
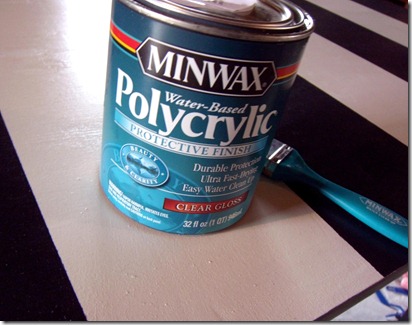
I put 3 coats of paint on each black stripe. Everything looked good, but I wanted it all to look glossy, polished, and be protected. I used Minwax Polycrylic clear gloss over everything. When using it, I was sure to have thin coats and to coat everything 3 times.
I am so glad I went to all of the work of putting the clear gloss because everything turned out beautifully!
My favorite chair is the Peacock Blue one. It is such a rich, stunning color. I nicknamed him “Little Blue”. Dave teased me for it, and maybe it was the paint fumes getting to me, but I love the name.
Overall, the project was a lot of work, but SO worth it! Now to just make some things as a centerpiece! I have some ideas!
Due to the risk of stolen content, full posts are no longer available via RSS feed.
This post is via www.girllovesglam.com
This post is via www.girllovesglam.com




My First House Swan Song - Girl Loves Glam
Monday 11th of August 2014
[…] […]
Eileen
Thursday 27th of February 2014
I know this is an old post, but I have the exact same dining room set!! I am just wondering....can I just apply primer and not sand? and also, did the tester size paint jar cover all of one chair?
McKenzie
Thursday 27th of February 2014
I would recommend sanding. You could try using liquid sand if you don't want to get out the sander, but the paint really does look better and stay nice if you sand first. The testers covered one chair each!
Keren Duchan
Wednesday 30th of November 2011
I LOVE the striped table. It's gorgeous! I should get around to painting my old furniture and that's a design I will definitely try. Thanks for sharing!
Jessica @ My World - Made By Hand
Wednesday 30th of November 2011
SO cool! I love the contrast between the table and the chairs and who doesn't love stripes? Thanks for linking it to Totally Tutorial Tuesdays.
geri e.
Monday 21st of November 2011
So great! Love the thick stripes.