I have absolutely loved learning how to use my DSLR camera and all of my accessories for it. I feel like my photos have gotten much better and I have become a lot more knowledgeable about photography. Last week, my mom had me take some pictures of her house because they put it up for sale a few weeks ago, but she wanted better pictures taken for her house listing.
I was excited to help my mom out, and get to play with my camera some more. I took a little photography course online, read a photography book, and have done a lot of research on photography, but it was nice to do some hands on learning. Why is photographing an interior difficult? Here are a few key reasons…
*Lighting- The sun isn’t inside your house, therefore it is darker in there! You have to learn how to make more light come into your camera without the full sun.
*Uneven lighting- Even when there is a window in the room, it can be difficult to make a room evenly lit because of more light hitting certain areas.
*White balance- White balance is just the fancy term of how your camera sees the color white. It has to adjust under different types of light.
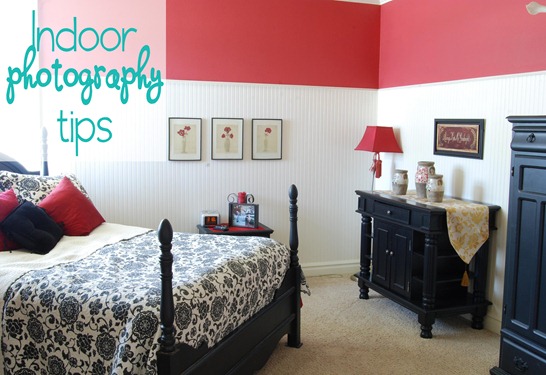
Those are just a few of the reasons why taking photos inside can be difficult, but hopefully these tips can help you. Keep in mind, that none of the photos that are in this post have been edited anymore than just cropping and adding text. These are raw photos to help you learn!
1st thing is 1st. ISO. The ISO determines how much grain shows in your photos. For crisp, clean photos, I suggest using a 200 ISO for shooting interiors. Keep in mind, this is for photos with no movement in them at all. If you are taking photos of people inside, you will most likely have to have a higher ISO. Once I set my camera’s ISO to 200, I didn’t have to really think about it again.
Set your aperture. This will determine how much depth of field is in focus. Because I wanted the entire area I was shooting to be in focus, my f stop number was set to 1/16. This is also something I didn’t have to think about again while taking these photos because I knew I would always want the entire room to be in focus.
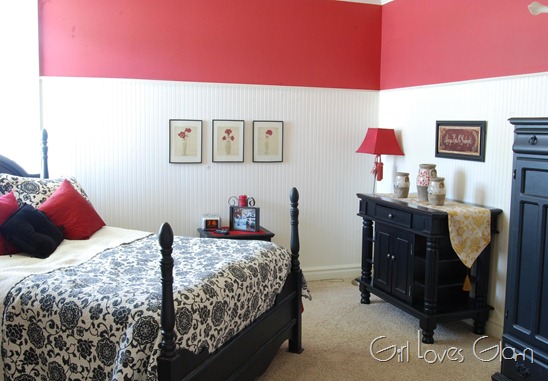
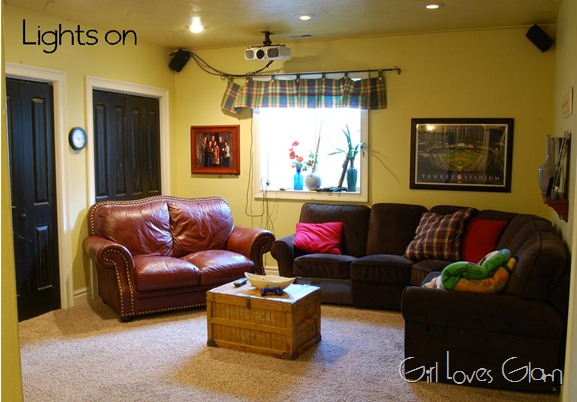
Tripod- This is essential in photographing interiors. The photo above was taken in a basement. I didn’t want the lights on because it would make the colors look funky. It made the room too dark to take a decent photo without a tripod. I had to set my shutter speed down to 30 seconds to capture this shot. This room is exactly these colors. I couldn’t have done this without a tripod.
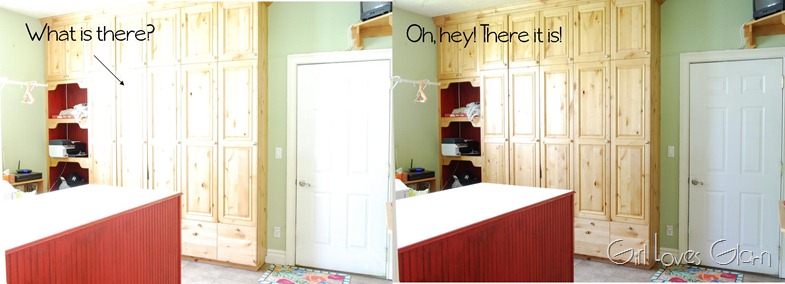
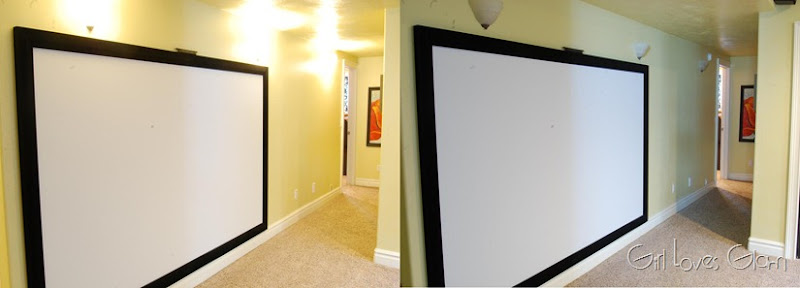
Now to shutter speeds. I was just talking about them a little, but what is the big deal about shutter speeds? Like I was saying earlier, the interior of a house just doesn’t have the natural light that you can use when you are outside. By slowing down the shutter speed, the camera is able to bring in more light so that the picture is brighter. You will have to play around with this a little bit. If the photo is too bright, it will make parts of the photo disappear because of too much light being in that spot. Look at the photo above. I took one picture with a very slow shutter speed and I couldn’t see the lockers at all, but once I took the shutter speed up a little, it was still bright, but you could see the lockers!
Lighting in the room- Check out the lighting in each room that you photograph. Try not to use the lights in the room. Try to only use natural light to create more natural looking photos. There will be times when you need to turn on lights because the room is just too dark, but you will have to adjust your white balance to work with the lights too. I will get more into that later. In the photo above, it was taken in the basement. I couldn’t get the lighting that I wanted without turning the lights on.
With that in mind, remember that beauty is in the eye of the beholder. Some people may prefer the photo of the projection screen above with the lights on, some may like it with the lights off more. Use your discretion with this and do what you think looks best.
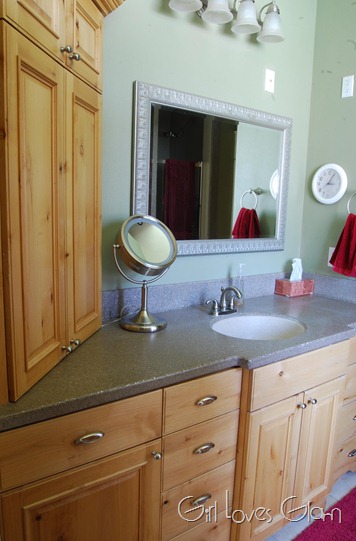
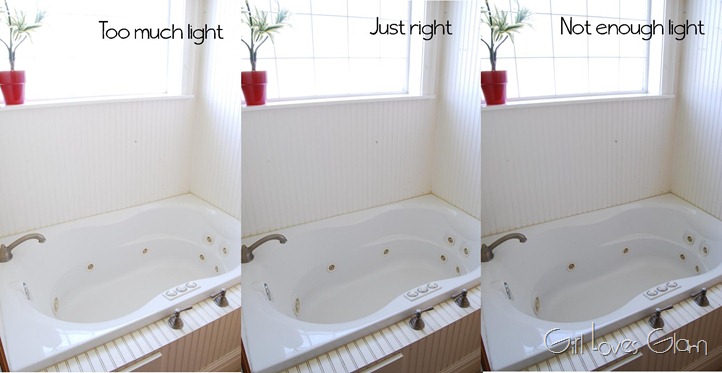
Remember to adjust your camera settings. From room to room, even different angles of the same room, you need to adjust your camera settings. For me, all this meant was adjusting my shutter speed. Not all rooms are lit the same way. Be sure to adjust for each room. The bathroom above, was lit much more than the basement photos. I needed to have a faster shutter speed for it than I did for the basement photos.
Create even lighting. In the pictures above, this room has one (functional) window in it. Because the light was coming in it so brightly, it would have made the lighting in this room very uneven. This window shade still was able to bring in enough light, but I was able to create even lighting so that no matter where I took the photos in this room, they were all evenly lit.
Take several pictures of the same thing. Maybe you feel a little silly clicking over and over again without moving your camera at all, but if you take photos with different shutter speeds, you are able to find the perfect settings for that photo. In the photo on the left (above), the bathtub is lit nicely, but the light makes the detailing on the window disappear. When I adjusted the shutter speed higher, it made the detail show, but the tub was too dark. When I went right in the middle, I was able to see the detail in the window, and have the tub nicely lit.
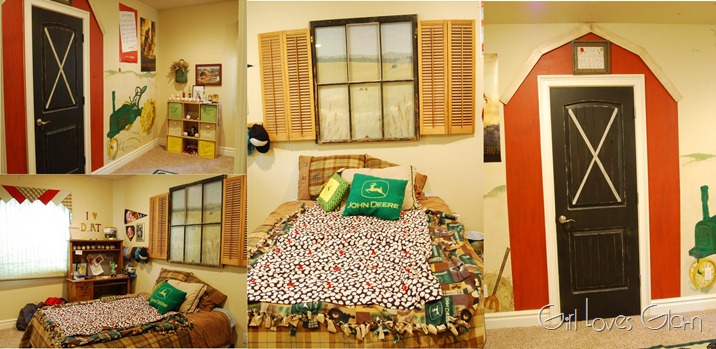
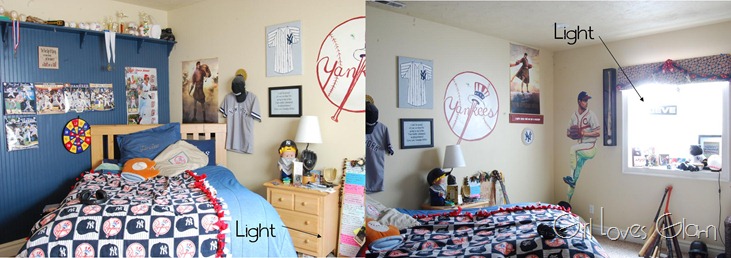
When the light is behind you, magical things happen. When taking pictures of my brother’s room above, I couldn’t cover his window because he doesn’t have blinds on it, so I had to change my angle to bring the light behind me. This makes for a much more evenly lit room and a lot prettier photo in general.
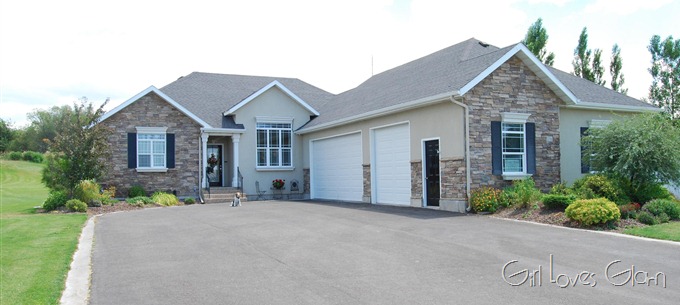
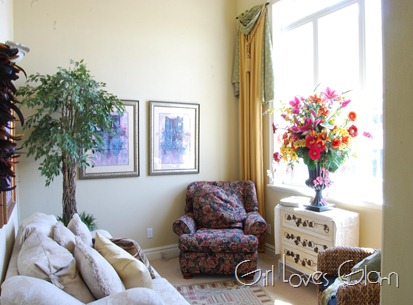
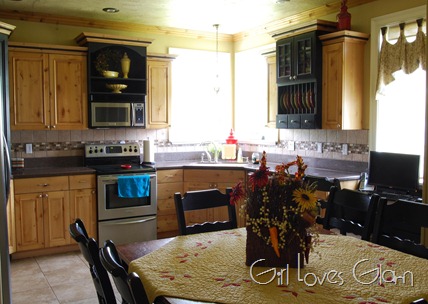
Staying with the theme of where the light is coming from, you need to use your discretion with this too. Where I was taking photos for my mom so that it would show off the great things about her house, I wanted to be sure to show off some of the great windows that she has. These photos above are great examples of having the light from some of her big windows just spilling into the room.
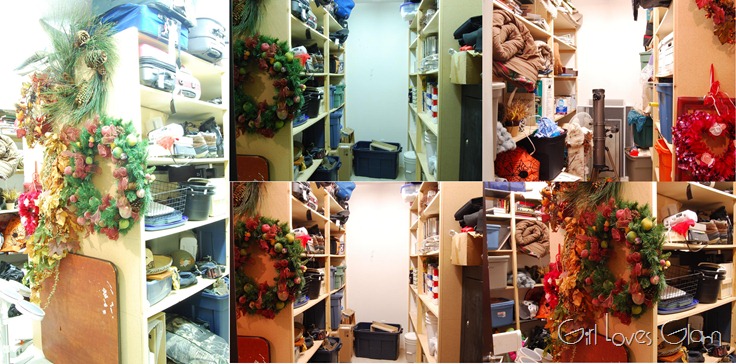
I mentioned this before, but white balance is so important to play with too. All of the photos above were taken of my mom’s awesomely humongous storage room. This room is lit with fluorescent lights. I had to be sure to adjust my white balance to make up for the fluorescent lights. Fluorescent lights give off a blue tint to them so I needed to adjust to make the white wall turn white. Once the white turns white, you have the correct white balance.
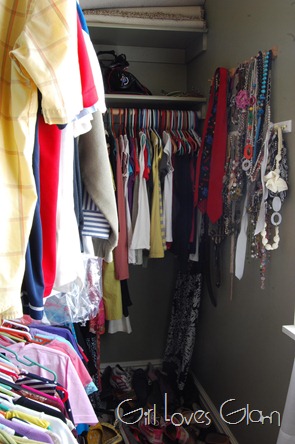
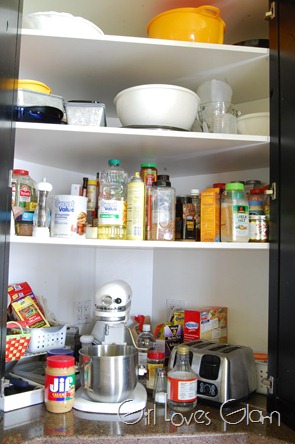
Now my last tip has less to do with interior photos and more to do with taking photos of a home you are trying to sell. When taking real estate photos, be sure to photograph things that make the house unique. Make it stand out in the crowd, such as all of the great closets in my mom’s house and her amazing bake center with all of her small appliances and baking supplies tucked away in a cabinet. Sell your potential buyers on what makes your house AWESOME.
I hope you can learn from these tips! If you are interested in seeing more photos of my mom’s house or need more photography advice, email me! Remember I am no professional, but I love to share my new knowledge with others. If you want to see the house listing (with the old photos) look here.
I’m Linking…
Mommy by Day Crafter by Night
Sugar Bee Crafts
Lil Luna
The DIY Dreamer
Rae Gun Ramblings
Someday Crafts
Whipperberry
See Vanessa Craft
My Repurposed Life
Six Sisters’ Stuff
Tatertots and Jello
Positively Splendid
I Heart Naptime
Due to the risk of stolen content, full posts are no longer available via RSS feed.
This post is via www.girllovesglam.com
This post is via www.girllovesglam.com



Linda @ it all started with paint
Saturday 2nd of February 2013
Great tips! ISO at 200. Check. 1/16 f-stop. Check. I also use the camera's timer with the tripod. Set it at a the 2 second delay. Though, I need to get a better, sturdier and more flexible tripod. Mine is shaky ...
:) Linda
Shannon Madigan
Sunday 15th of July 2012
Thanks! These were great tips.... I never would've guessed that 2nd photo was in a basement. Tripods are a must!
c @ annuary chit
Saturday 14th of July 2012
Really helpful post! Glad I found it via Sharefest. I'm much more comfortable shooting outdoors and I tend to use AV or Manual. One thing is for sure I really need to find my tripod and try out some of your tips!
sandra @ the sensible mom
Saturday 14th of July 2012
Hi there! Visiting from SITS Girls! These are great tips. :-) I'm still learning how to use our camera, and I'm a total amateur, but your tips definitely helped. I mainly want to learn how to take better quality photos for my blog posts, and I'm trying to do a better job of creating high quality videos with our camera, too.
Great tip on the ISO....I need to check that on our camera. We checked a movie out from the library on shutterspeed and f stop, but I still get those things mixed up and usually end up shooting in a well lit room on automatic.
P.S. you have a very cute blog, too!
gail@My Repurposed Life
Friday 13th of July 2012
great tips for sure! I have a point and shoot and rarely stage my photos.
gail