This is a sponsored post written by me on behalf of Sally Beauty. All opinions are 100% mine.
I love all of the beautiful red violet that is showing up this season. You can see it in clothing, makeup, and even in hair color this time of year. I love embracing these seasonal colors, but instead of investing so much into purchasing a whole new red violet wardrobe or dying my hair right now, I decided to go with a fun Fall manicure! I find doing my nails to be pretty therapeutic and love how just having my nails done can make my confidence boost a little.
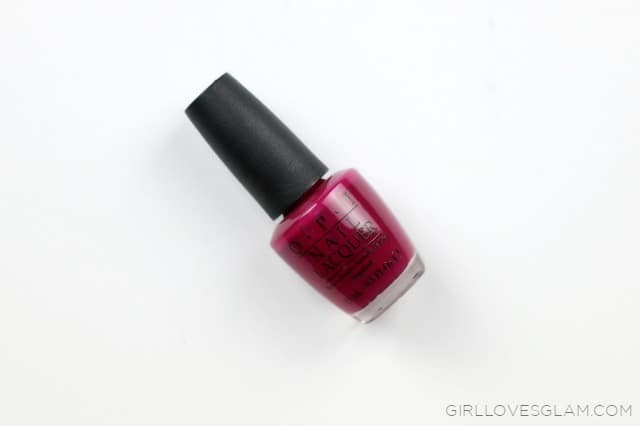
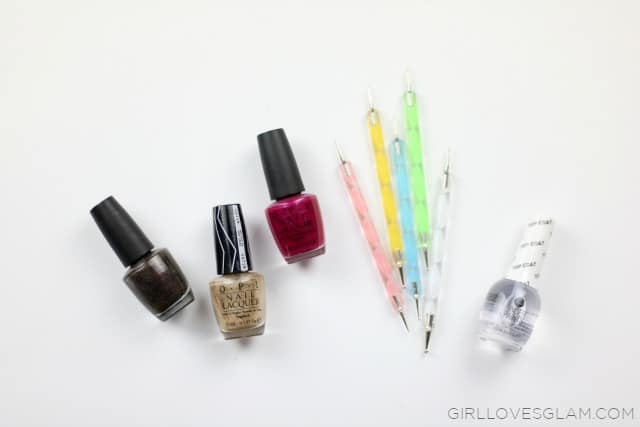
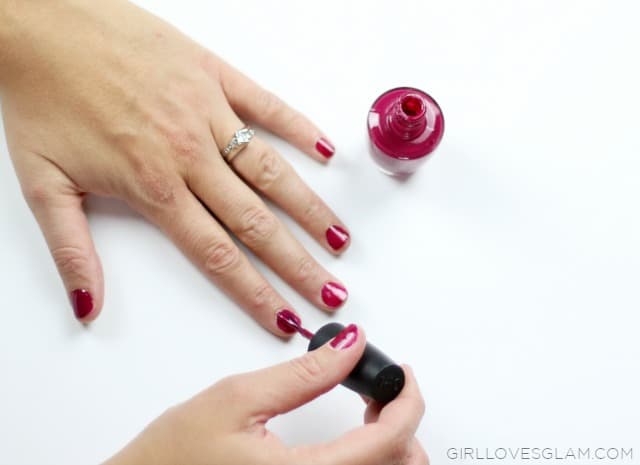
To achieve this look, the most important part is obviously that beautiful Red Violet color since that is the color that is so popular right now that we want to embrace. I absolutely fell in love with the Miami Beet color from OPI that I found at Sally Beauty. It embraces that beautiful color, without it being too dark. If it was darker, I think it would look a little too much like a winter color for the look I was going for.
I also used gorgeous gold and dark brown OPI polishes I grabbed last year. The focus isn’t on these colors, so really any complimentary fall color would work. I also used the Finger Paints Top Coat and nail art tools that can all be found at Sally Beauty as well.
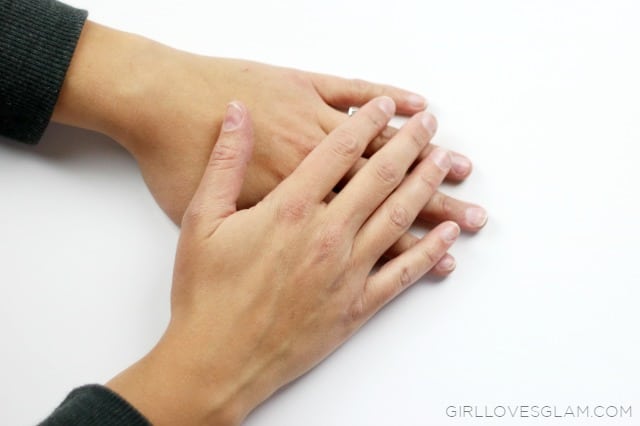
Before I put any polish on, I gave myself a manicure by cleaning up my cuticles and filing my nails to all be about the same length.
Start the polish by putting on two coats of the red violet color. Make sure the first coat of polish is completely dry before applying the second layer.
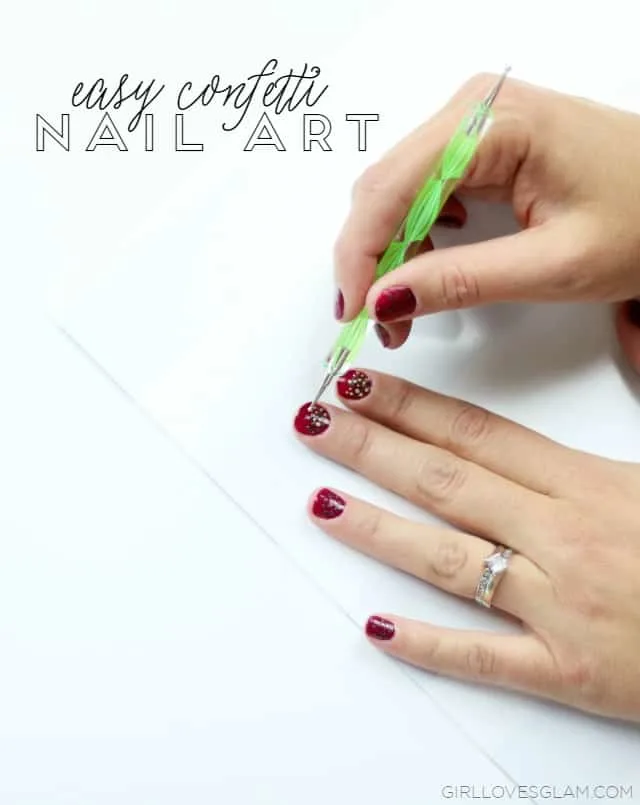
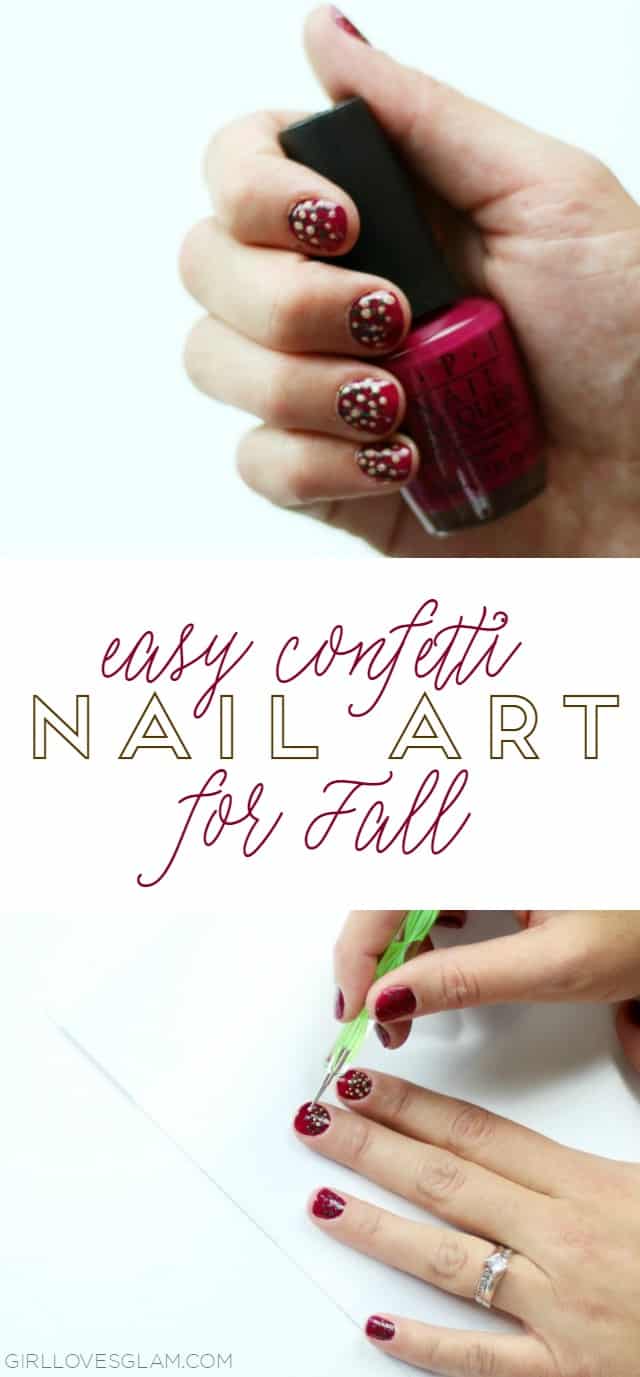
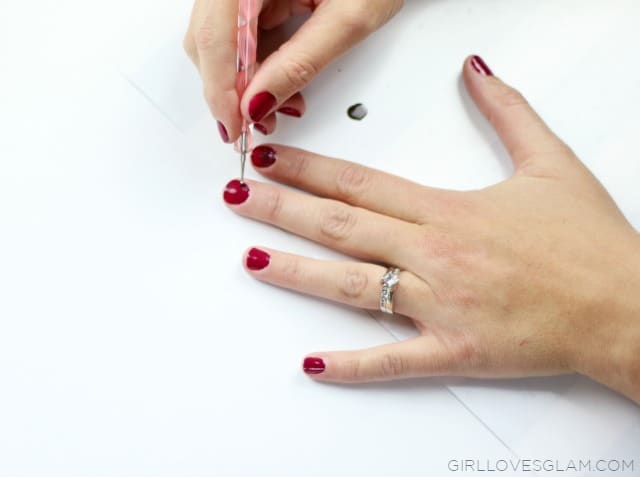
Starting with the darker accent color, make tiny dots on your nails. I put a tiny bit of polish on a plate and dipped the nail art tool in there and just made tiny dots on my nails. Start from the base of the nail and move up. I wanted it to look a little bit like the confetti was bursting from the base of my nails, so I didn’t take the dots all the way up my nails. If you would prefer to have the dots all over, it would look really cute too!
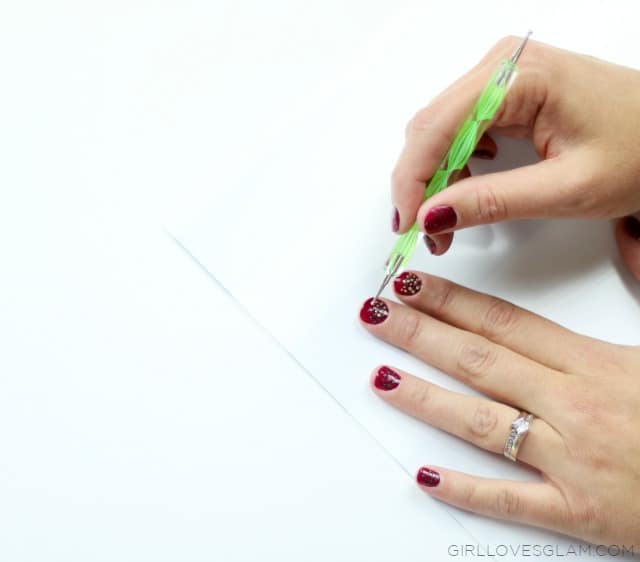
After your dark dots have dried, repeat the dots with the lighter color of polish. There isn’t a right or wrong way of doing this, I just kind of filled in any holes that I wanted to have covered on the nails.
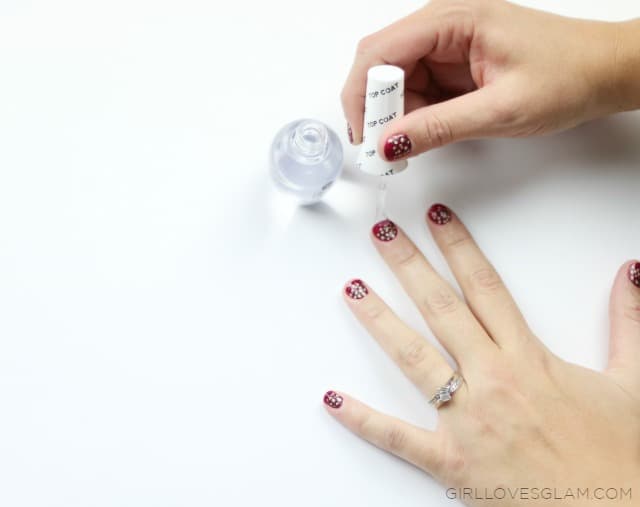
Let the dots dry completely and apply two layers of the top coat. If you are going to put the work into creating art on your nails, you need to make sure you protect that art with the top coat! Let the top coat dry completely between layers.
I just love how these nails turned out! They allow me to embrace the red violet trend, without going completely overboard. These nails are also easy enough to do that I wouldn’t mind doing them this way several times this season.

You can find all of the products you need for this nail art at Sally Beauty. There is the Sally Beauty Fall Color Sale Under $10 happening where they are celebrating the gorgeous red violet color trend happening now!

For even more beauty inspiration, check out the Sally Beauty Instagram!